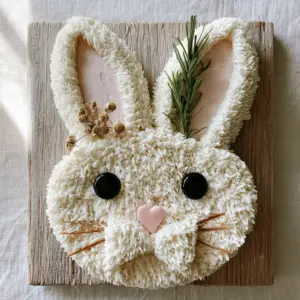
There is something undeniably magical about a homemade rabbit birthday cake sitting in the center of a celebration table. Whether you are planning a first birthday, a spring-themed party, or an Easter gathering, this charming bunny creation captures hearts with its soft, piped “fur” and whimsical botanical accents. Best of all, you do not need a special shaped pan to achieve this professional result—just two simple round sponges and a little bit of piping magic.
This particular design leans into a beautiful “mom-blog” aesthetic, focusing on natural textures like dried pasta whiskers and fresh rosemary sprigs. The result is a rabbit birthday cake that looks high-end and artisanal but remains completely achievable for the enthusiastic home cook. By following our forensic visual guide, you will create a cake that is as structurally sound as it is adorable.
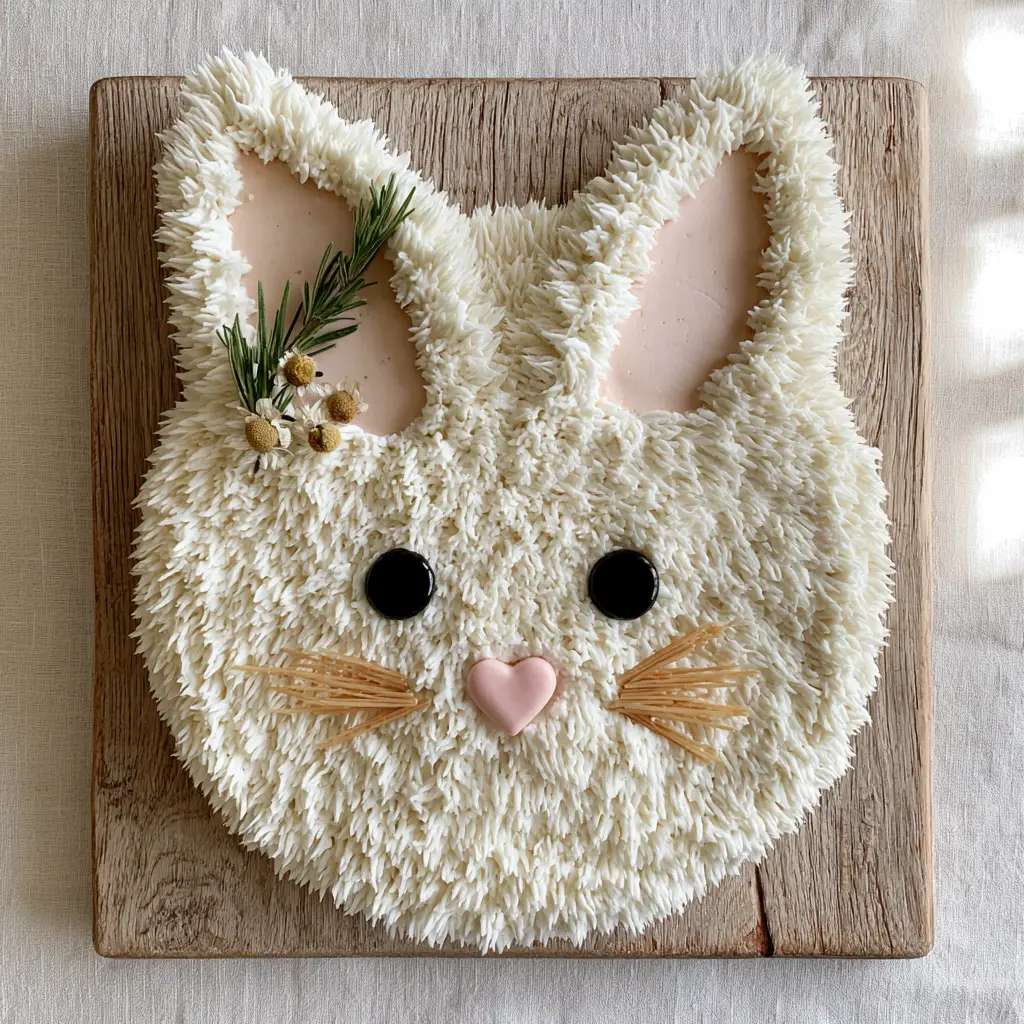
Why This DIY Bunny Cake is the Ultimate Celebration Centerpiece
- No Special Equipment Required: We use standard 8-inch (20cm) round cake pans to carve out the ears and bowtie, making it accessible for everyone.
- Realistic “Fur” Texture: Using a multi-opening grass tip creates a voluminous, soft appearance that mimics real rabbit fur far better than a flat palette knife finish.
- Sophisticated Botanical Garnishes: The addition of fresh rosemary and dried chamomile flowers elevates the design from a simple kid’s cake to an elegant dessert.
- Superior Structural Integrity: We utilize a sturdy vanilla sponge base that holds its shape during carving without crumbling, ensuring your rabbit birthday cake stays perfect from the first slice to the last.
Essential Components for the Perfect Vanilla Sponge Base
To create the foundation of your rabbit birthday cake, you need a sponge that is both light and durable. We recommend a high-quality butter sponge that can withstand the weight of the thick buttercream fur.
All-Purpose Flour: 3 cups (375g) of sifted flour provides the necessary structure. Ensure you measure by weight for the most accurate crumb.
Granulated Sugar: 2 cups (400g) of sugar not only sweetens the cake but also aids in the browning process, giving us those golden edges.
Unsalted Butter: 1 cup (225g) of softened butter is creamed with the sugar to incorporate air, which is vital for a fluffy rise.
Whole Milk: 1 cup (240ml) of room-temperature milk ensures the batter reaches the perfect dropping consistency.
Large Eggs: 4 large eggs provide leavening and richness. Always use room-temperature eggs to prevent the batter from curdling.
Baking Powder & Salt: 1 tbsp (12g) of baking powder and 1/2 tsp (3g) of salt are the invisible workhorses that ensure a beautiful rise and balanced flavor profile.
Vanilla Extract: 2 tsp (10ml) of pure vanilla bean extract gives that classic, nostalgic birthday aroma we all love in a rabbit birthday cake.
The Secret to Voluminous Buttercream Fur
The “fur” on this cake is achieved through a classic American buttercream. Unlike Swiss Meringue, American buttercream “crusts,” which helps the individual piped strands of the grass tip maintain their definition.
Powdered Sugar: 8 cups (1kg) of confectioners’ sugar creates the bulk and sweetness of the frosting. Sift it twice to avoid any lumps that could clog your piping tip.
Unsalted Butter: 2 cups (450g) of softened butter. The high butter-to-sugar ratio ensures a creamy mouthfeel that isn’t cloying.
Heavy Cream: 4 tbsp (60ml) of cream allows you to adjust the consistency. You want the frosting stiff enough to hold a peak but soft enough to squeeze through the small holes of the grass tip.
Pink Gel Food Coloring: A tiny drop is needed for the pale blush pink ear inserts. Using gel instead of liquid prevents the frosting from becoming too runny.
Foundational Tools for Cake Architecture
To achieve the look seen in our visual blueprint, you will need a few specific tools. While the cake itself is simple, these items make the “DIY” process look professional.
- Two 8-inch (20cm) Round Cake Pans: These are the standard size for this assembly method.
- Grass Piping Tip (Multi-opening tip #233): This is non-negotiable for creating the realistic fur texture.
- Large Wooden Cake Board: A rustic oak or light wood board provides the perfect organic backdrop for the white rabbit birthday cake.
- Offset Spatula: Used for the initial crumb coat and smoothing the pink ear centers.
- Piping Bags: High-quality disposable or silicone bags to handle the pressure of the thick buttercream.
Step-by-Step Assembly of Your Rabbit Birthday Cake
Phase 1: Baking the Perfect Foundation
Preheat your oven to 350°F (175°C). Grease and line your two 8-inch pans with parchment paper. Cream the butter and sugar until pale and fluffy—this should take about 5 minutes. Add eggs one at a time, followed by the dry ingredients and milk in alternating batches. Bake for 30-35 minutes until a skewer comes out clean. Allow the sponges to cool completely before carving; a warm cake will crumble and tear.
Phase 2: The Art of the Bunny Carve
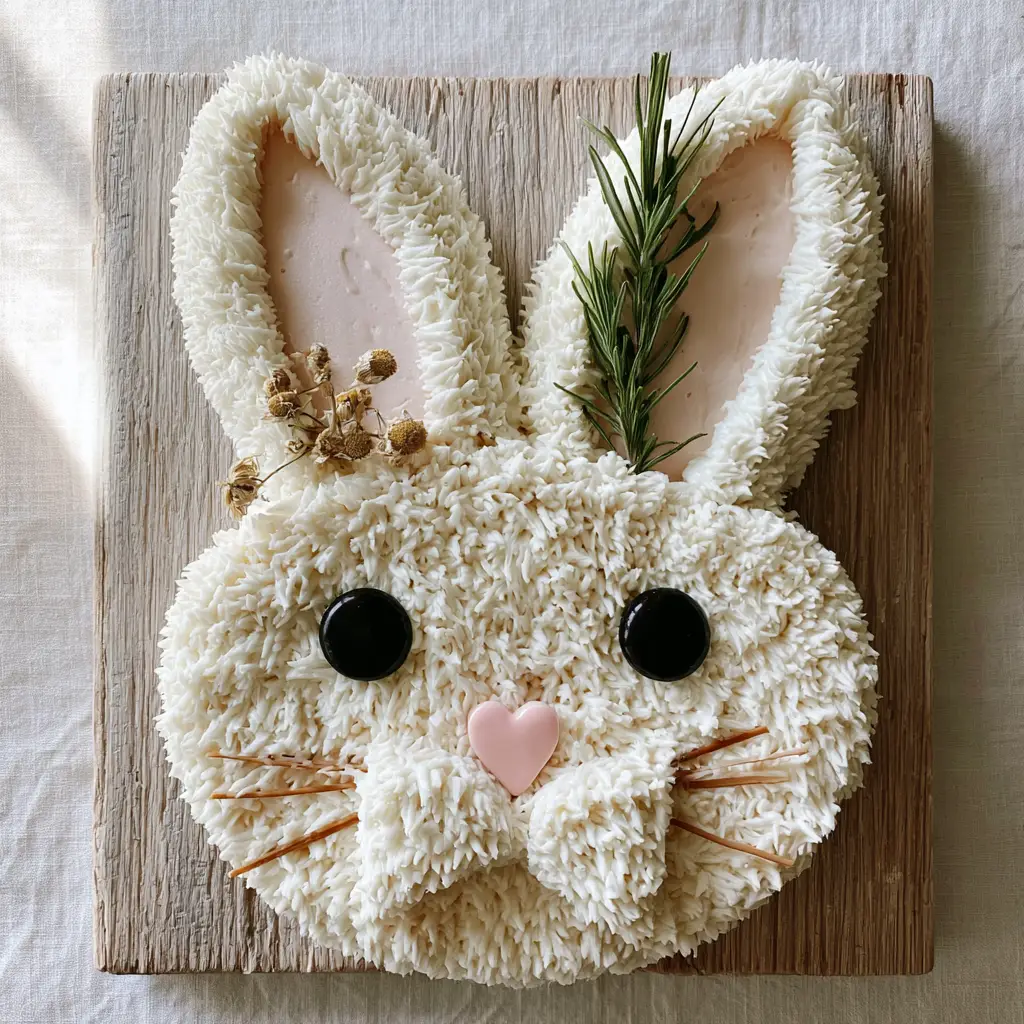
Once cooled, keep one 8-inch sponge whole—this is the bunny’s head. Place it in the upper center of your wooden board. Take the second 8-inch sponge and make two curved cuts to create two large “leaf” shapes from the sides. The remaining center piece, which looks like a rounded rectangle, becomes the bowtie. Place the ears at the top of the head and the bowtie at the bottom. This classic layout is the heart of the rabbit birthday cake structure.
Phase 3: The Crumb Coat and Pink Accents
Apply a thin “crumb coat” of white buttercream over the entire assembly. This seals in any loose crumbs. Use your offset spatula to smooth a layer of pale pink buttercream into the center “tear-drop” area of each ear. This creates the inner ear look. Let this chill in the fridge for 20 minutes to set before proceeding to the fur.
Phase 4: Piping the Realistic Fur Texture
Fit your piping bag with the grass tip and fill it with white buttercream. Starting at the bottom edge of the cake, squeeze the bag, pull away about 1/2 inch (1cm), and release. Work in small sections, overlapping the rows slightly. This builds a voluminous, shaggy fur look. Avoid piping over the pink ear centers or the areas where the eyes and nose will go. The visual cue here is a “soft, ruffled appearance” that covers every inch of the white surface.
Forensic Detailing: Bringing the Face to Life
To finish your rabbit birthday cake, we move to the fine details. Roll out two small circles of black fondant—roughly the size of a nickel—and place them as eyes. Add a single pink heart-shaped candy in the center for the nose. For the whiskers, use three strands of thin, dried pasta on each side. Insert them carefully so they “float” above the fur.
Finally, place a single sprig of fresh green rosemary at the base of one ear, and nestle three dried chamomile flowers nearby. These organic touches provide a beautiful contrast to the white buttercream. If you’re looking for more party food ideas, consider serving these alongside bite-sized desserts or perhaps some sweet and savory appetizers for the adults.
Expert Tips for a Flawless DIY Rabbit Cake
- Temperature Control: If your hands are warm, the buttercream in the piping bag will begin to melt. If you see the “fur” losing its definition, pop the piping bag in the fridge for 5 minutes to firm up.
- Level Your Cakes: Use a serrated knife to trim the domes off your sponges before assembling. A flat surface ensures the ears and bowtie sit flush with the head.
- The Pasta Trick: If you are worried about children eating the raw pasta whiskers, you can swap them for thin strips of licorice, but the pasta provides a more minimalist, “mom-blog” aesthetic.
- Sift Your Sugar: The tiny holes in the grass tip clog easily. Do not skip sifting your powdered sugar!
Storage and Make-Ahead Instructions
This rabbit birthday cake can be baked and carved a day in advance. Simply wrap the un-iced sponge pieces tightly in plastic wrap. Once fully frosted, the buttercream acts as an insulator, keeping the cake moist. Store the finished cake in a cool, dry place or a large cake box. If refrigerating, bring it to room temperature for 2 hours before serving so the buttercream softens to its intended creamy texture.
For leftovers, this vanilla sponge holds up well for 3-4 days. While we wouldn’t recommend freezing the fully decorated cake due to the delicate fur texture, you can freeze the individual sponges for up to 3 months. Just as you might prep seafood cakes ahead of time, prepping your sponge layers saves significant stress on the day of the party.
Pairing Your Celebration Cake
A birthday party often needs a balance of sweet and savory. While the children dive into the rabbit birthday cake, the adults might appreciate a more substantial meal. You could serve a hearty spinach stew for a unique flavor profile, or keep it classic with some Mediterranean-inspired chicken. If the party is a casual backyard affair, a tray of crispy fried fish is always a crowd-pleaser.
Frequently Asked Questions
Yes, you can use chocolate or lemon sponge, but ensure the recipe is sturdy enough for carving. Avoid very light chiffon cakes which may collapse under the heavy buttercream.
Store-bought frosting is often too soft to hold the detail of the grass tip. If you use it, you must add extra powdered sugar to stiffen the consistency significantly.
Chilling the cake after applying the pink ear centers and the crumb coat is key. A firm base prevents the white piped fur from dragging the pink color across the cake.
Dried pasta is safe for decoration, but it is very hard. Ensure you remove the whiskers before serving to children to avoid any accidental ingestion of raw pasta.
The grass tip (#233) is essential for the ‘fur’ look. However, in a pinch, you can use a small star tip to create a ‘star-furred’ texture, though it will look more like a traditional cake design.
The Ultimate DIY Rabbit Birthday Cake Recipe
Rabbit Birthday Cake: A DIY Vanilla Bunny Cake Tutorial
Ingredients
Equipment
Method
- Cream butter and sugar, add eggs, then alternate dry ingredients and milk. Bake at 350°F (175°C) in two 8-inch pans for 30-35 mins. Cool completely.
- Keep one sponge whole for the head. Cut the second sponge into two outer 'leaf' shapes for ears and a central 'bowtie' shape.
- Apply a thin layer of white frosting over the whole cake. Smooth pink frosting into the center of the ear pieces.
- Using a #233 grass tip, pipe small strands of white buttercream across the head, ears, and bowtie to create a 'fur' texture.
- Add fondant eyes, a heart candy nose, and pasta whiskers. Garnish with rosemary and chamomile at the base of the ear.
Notes
Ensure the cake is completely cool before carving to prevent crumbling.
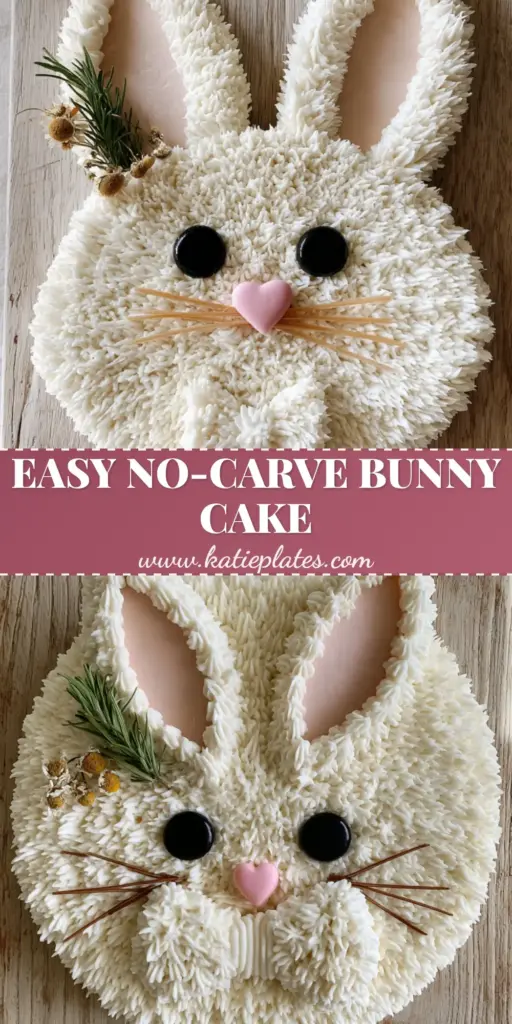
Share Your Bunny Creations!
Creating your own rabbit birthday cake is a rewarding experience that adds a personal touch to any celebration. The combination of the soft vanilla sponge, the intricate piped fur, and the rustic botanical garnishes makes for a stunning visual result. We would love to see your version of this bunny cake! Be sure to leave a comment below with your tips and tricks, and don’t forget to follow us and save this recipe to your favorite boards on Pinterest.