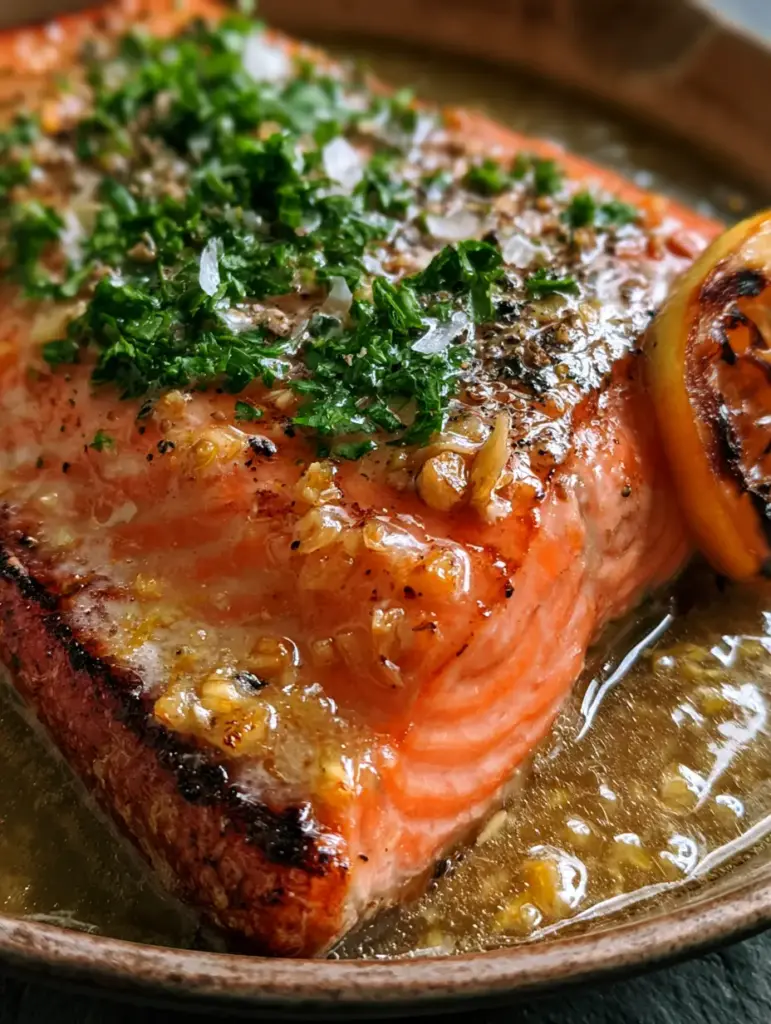
Learning how to cook steelhead trout is the ultimate culinary “cheat code” for anyone who loves vibrant, flaky fish but wants a slightly more delicate flavor than traditional salmon. This recipe focuses on a high-heat sear to achieve that ultra-crispy golden skin, followed by a luxurious bath in molten garlic butter.
If you have ever been intimidated by cooking fish at home, this method is foolproof. We are using a rustic cast iron skillet to create a professional-grade crust that contrasts perfectly with the moist, coral-pink center of the trout. By the time you finish this guide, you will be able to produce a restaurant-quality meal in under 20 minutes.
This how to cook steelhead trout tutorial is designed for the home cook who values both visual aesthetics and scientific culinary precision. We aren’t just cooking fish; we are building layers of flavor from the toasted minced garlic to the bright, caramelized charred lemon slices that tie the whole dish together.
Why This Steelhead Trout Recipe Works
- The Skin-to-Flesh Ratio: Unlike thicker salmon, steelhead fillets are often thinner, allowing the skin to get exceptionally crispy without overcooking the delicate meat.
- Aromatic Depth: The combination of toasted minced garlic and fresh parsley creates a savory crust that enhances the natural sweetness of the fish.
- Visual Appeal: The contrast of the bright green parsley against the coral-pink fish and the golden butter sauce makes this a viral-worthy dish for your Pinterest boards.
- Dual-Texture Success: You get a satisfying crunch from the flaky sea salt and charred skin, paired with a melt-in-your-mouth interior.
Before you dive into the pan, you might want to explore other seafood techniques like our guide on seared cod fillets or compare this method to our baked honey lemon steelhead trout.
The Essential Ingredients for Pan-Seared Steelhead
Steelhead Trout Fillets: You will need about 1 lb (450g) of fresh trout. Look for fillets that are firm to the touch and have a vibrant, deep orange or coral hue.
Avocado Oil: Or any high-smoke point oil. This is crucial for achieving that golden-brown crispy skin edge without the oil burning or smoking out your kitchen.
Unsalted Butter: We use 3 tbsp (42g) of butter to create the molten garlic butter sauce. Unsalted allows you to control the seasoning with the Maldon sea salt later.
Fresh Garlic: Use 4 cloves, finely minced. We want these to become toasted minced garlic bits that cling to the fish, adding a nutty, savory crunch.
Lemon: One large lemon, half-sliced into rounds for the caramelized charred lemon slices and the other half for fresh juice droplets.
Flat-Leaf Parsley: A heavy scattering of bright green freshly chopped parsley adds the necessary herbaceous lift to cut through the rich butter.
Seasoning: Use flaky sea salt (like Maldon) and cracked black pepper for both texture and punchy flavor.
Preparation: The Secret to No-Stick Crispy Skin
Dry the Fish Thoroughly
The biggest enemy of how to cook steelhead trout with crispy skin is moisture. Use paper towels to pat the skin and flesh bone-dry. If the skin is wet, it will steam rather than sear, leaving you with a rubbery texture.
Season Right Before Cooking
Apply your salt and pepper immediately before the fillets hit the pan. If you salt too early, the salt will draw moisture out of the fish, ruining your chances of that perfectly charred edge.
Step-by-Step Instructions for the Perfect Sear
Step 1: The High-Heat Initial Sear
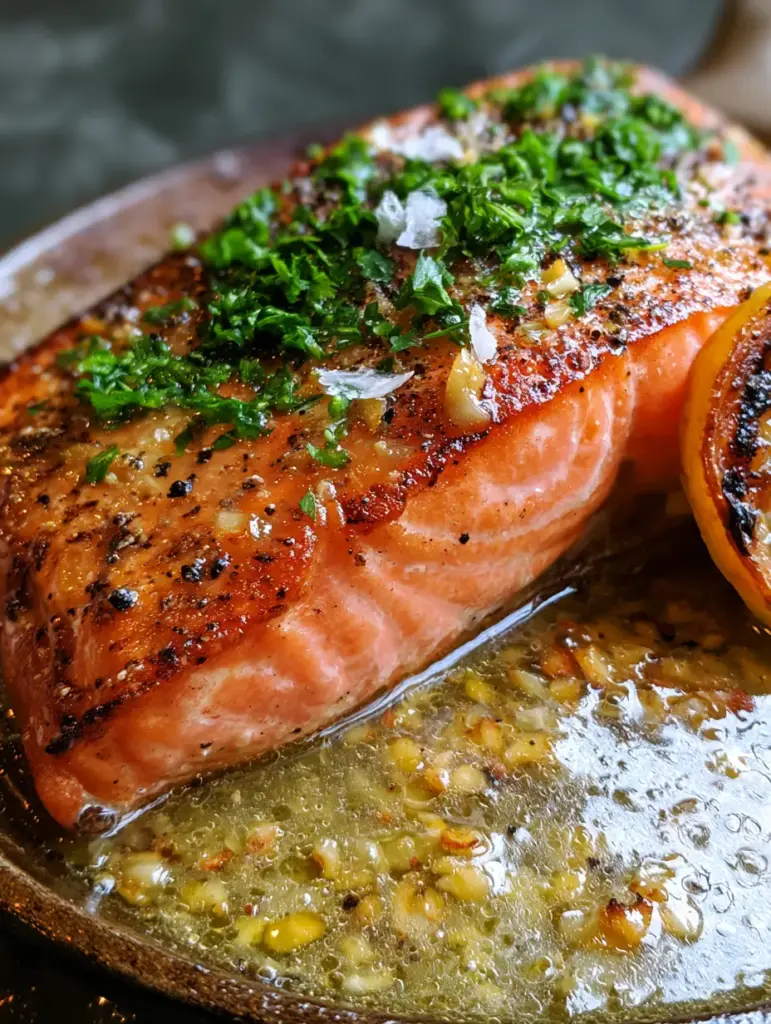
Place your rustic cast iron skillet over medium-high heat. Add 1 tbsp (15ml) of oil. Once the oil is shimmering and just starting to faintly smoke, place the trout fillets in the pan skin-side down.
Visual Cue: You should hear a loud, aggressive sizzle immediately. Use a flexible spatula to press down on the fillets for 30 seconds to ensure the skin makes full contact with the metal.
Step 2: Develop the Golden Crust
Leave the fish alone! Do not move it for 4-5 minutes. You are looking for the skin to naturally release from the pan. When you see a golden-brown crispy skin edge creeping up the side of the fillet, it is time to flip.
Step 3: The Flip and Butter Baste
Carefully flip the trout. Immediately reduce the heat to medium and add the butter, minced garlic, and the lemon slices to the empty spaces in the skillet.
Sensory Cue: As the butter melts and begins bubbling slightly, use a large spoon to continuously pour that molten garlic butter over the fish. The garlic should turn a beautiful toasted brown, and the lemon slices will start to char.
Step 4: Finishing Touches
Cook for only another 1-2 minutes. Steelhead is best served medium-rare to medium. Remove the skillet from the heat while the butter is still shimmering.
Expert Tips for Success
- Use a Cast Iron Skillet: The heat retention of cast iron is unmatched for getting that ultra-close-up worthy char on the skin.
- Don’t Overcrowd: Cook in batches if necessary. If the fillets are too close, the ambient steam will soften the skin.
- The Butter Timing: Only add the butter and garlic in the final 2 minutes. Garlic burns easily; we want it toasted, not black and bitter.
- Internal Temp: Aim for an internal temperature of 125°F (52°C) for a moist, flaky result that isn’t dry.
If you enjoy this flavor profile, you might also love our lemon garlic butter mussels or our spicy blackened cod recipe.
What to Serve With Steelhead Trout
This dish is incredibly versatile. Because it is rich with molten garlic butter, it pairs beautifully with light, acidic sides. Consider a crisp arugula salad, roasted asparagus, or even a side of fluffy jasmine rice to soak up the extra sauce.
For a unique twist, you could even serve these fillets alongside our veggie-packed hawawshi for a fusion-style dinner party.
Storage and Reheating
Storage: Keep leftover trout in an airtight container in the fridge for up to 2 days.
Reheating: To preserve the crispy golden skin, do not use a microwave. Instead, reheat the trout in a pan over low heat with a tiny bit of butter until just warmed through.
Frequently Asked Questions
Yes, you can bake it, but you won’t achieve the same crispy skin texture as you would with a high-heat pan sear in a cast iron skillet.
No! The skin provides a protective barrier that keeps the fish moist and, when seared properly, becomes a delicious, crispy highlight of the dish.
Steelhead trout is done when it is opaque on the outside but still slightly translucent in the center. It should flake easily with a fork at an internal temperature of 125°F-130°F.
While they look similar, steelhead is a sea-run rainbow trout. It is slightly leaner and has a milder, more delicate flavor than salmon, though it shares the same beautiful coral color.
Sticking usually happens if the pan isn’t hot enough or if the fish was too wet. Ensure the oil is shimmering and the skin is patted dry with paper towels before searing.
The Ultimate Pan-Seared Steelhead Trout Recipe
Get ready to master how to cook steelhead trout with this definitive guide. Follow the steps below for the most flavorful, visual-stunning meal you’ve made all year.
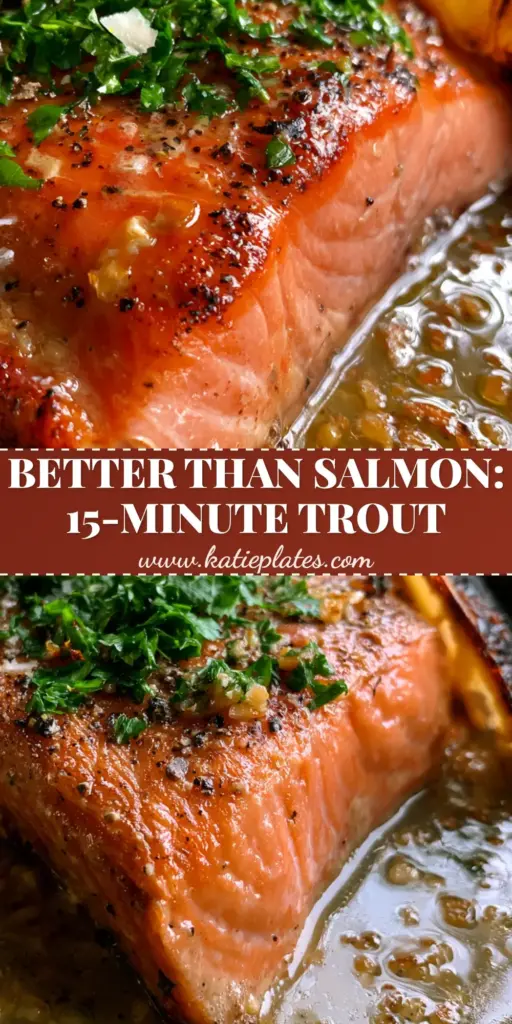
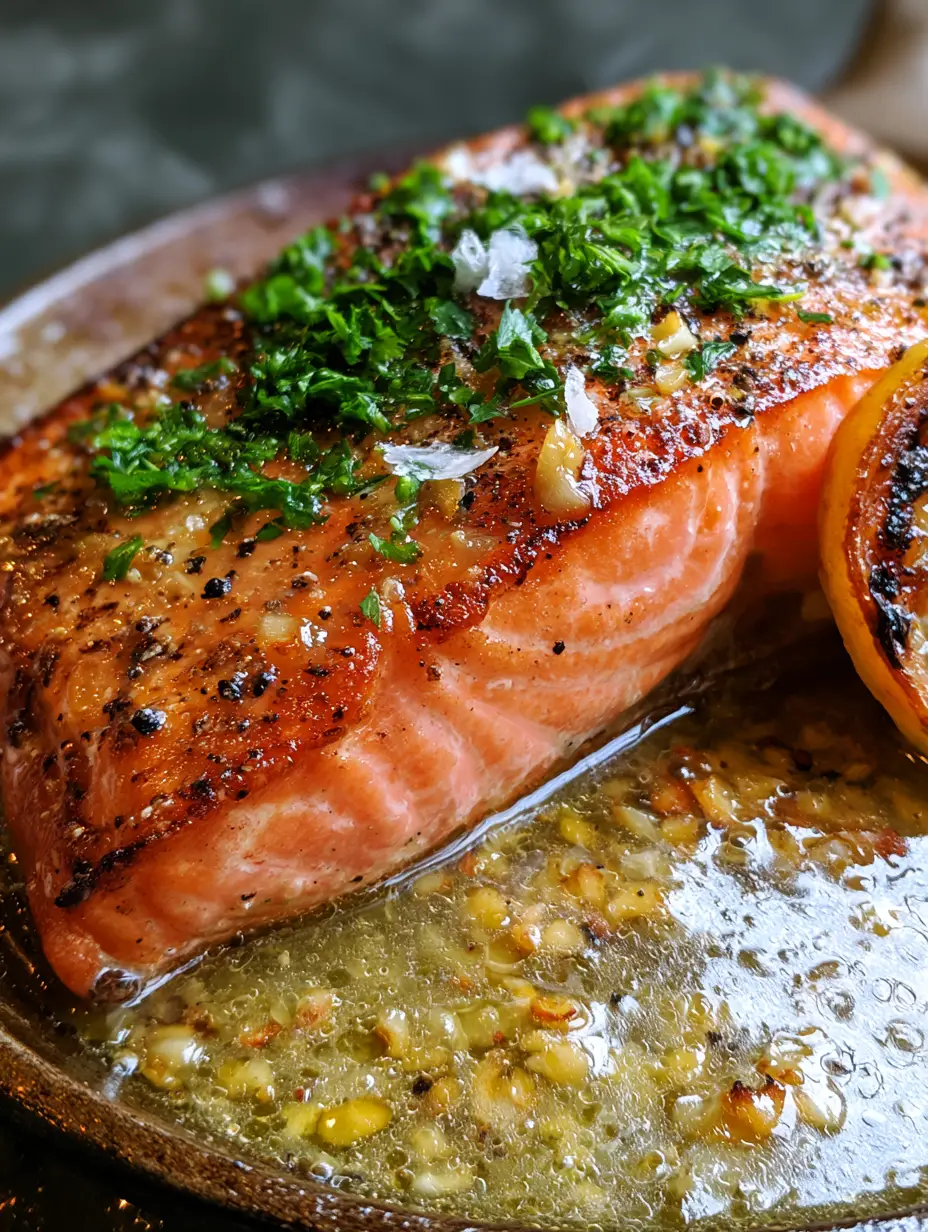
How to cook steelhead trout for the Perfect Crispy Skin and Garlic Butter Finish
Ingredients
Equipment
Method
- Pat the steelhead trout fillets extremely dry on both sides using paper towels.
- Season the skin side and flesh side generously with flaky sea salt and cracked black pepper.
- Heat oil in a cast iron skillet over medium-high heat. Place fish skin-side down and press with a spatula for 30 seconds. Sear for 4-5 minutes until skin is crispy and golden.
- Flip the fish. Add butter, minced garlic, and lemon slices to the pan. Baste the fish with the bubbling molten garlic butter for 2 minutes until the garlic is toasted.
- Remove from heat. Top with fresh parsley, extra sea salt, and a squeeze of the charred lemon.
Notes
Use a splatter screen if necessary to keep your kitchen clean while searing.
Save This Recipe to Pinterest!
Did you love this how to cook steelhead trout tutorial? Make sure to save this to your Seafood or Healthy Dinner boards on Pinterest so you never lose it! Follow katieplates for more professional recipe development and kitchen tips.
If you made this, please share a photo in the comments or leave a 5-star rating below. Seeing your crispy golden skin results makes our day!