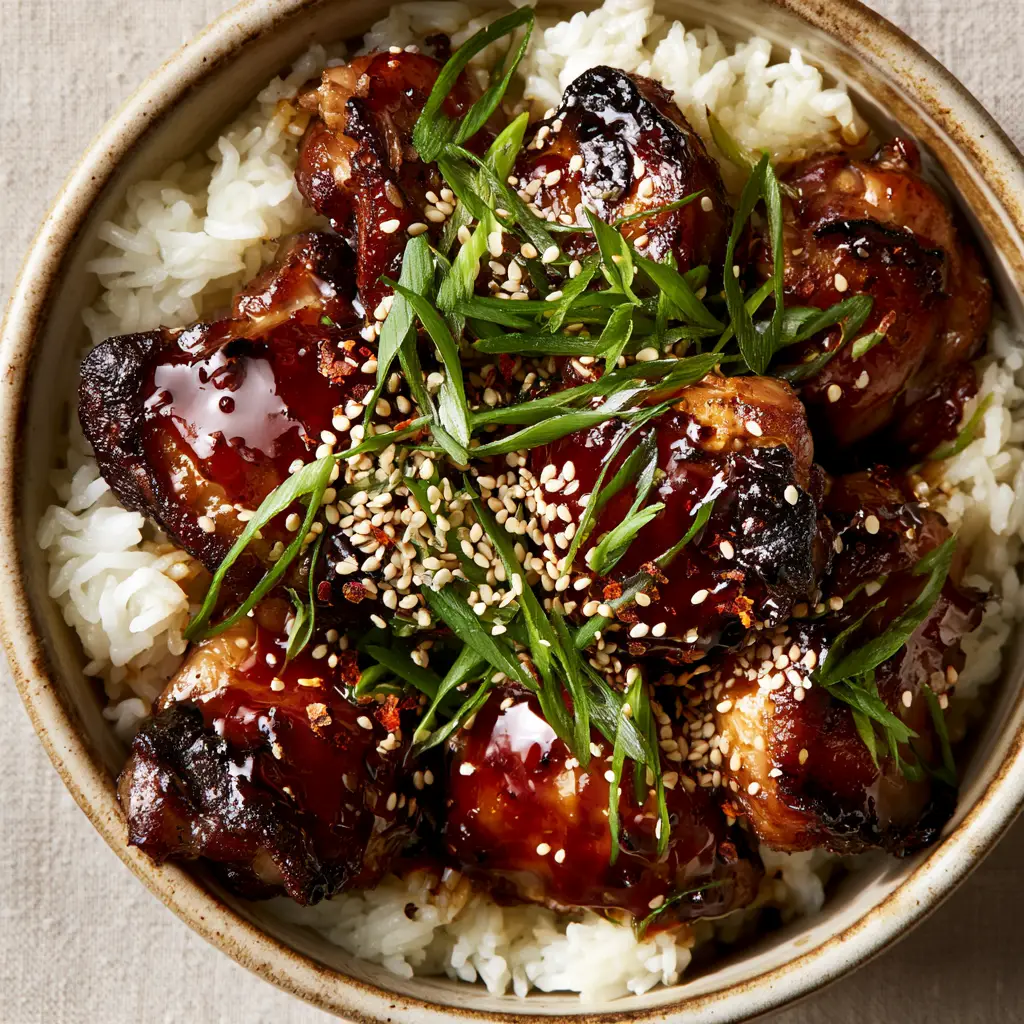
There is a specific culinary magic that happens when high heat meets a sugar-rich glaze, and this teriyaki chicken is the definitive proof. Imagine bite-sized pieces of succulent chicken thighs, their edges charred to a perfect crisp, drenched in a dark amber glaze so glossy it reflects the morning light. This isn’t just a meal; it is a sensory experience defined by the contrast of salty-sweet umami and the floral aroma of steaming jasmine rice.
When you prepare this teriyaki chicken at home, you are aiming for a specific visual and textural standard. We are looking for that honey-like viscosity in the sauce that clings to every crevice of the meat, accented by the vibrant green of oblique-cut scallions and the subtle crunch of toasted sesame seeds. It is a dish that looks as professional as a high-end restaurant plate but carries the soul of home-cooked comfort.
Why This Honey-Glazed Masterpiece Wins Every Time
- Textural Contrast: The chicken features deeply caramelized, crispy edges that provide a counterpoint to the tender, juicy interior of the thigh meat.
- Viscous Amber Glaze: Unlike thin, watery sauces, this version uses a reduction technique to achieve a thick, light-reflecting sheen that coats the palate.
- Aromatic Foundation: By serving this over fluffy, steaming jasmine rice, the grains act as a sponge for the extra sauce, carrying the scents of ginger and garlic throughout the dish.
- Visual Precision: Every garnish, from the precise sprinkle of toasted white sesame seeds to the tiny specks of crushed red chili flakes, is designed for maximum aesthetic appeal.
The Essential Components for Dark Amber Caramelization
To achieve the result shown in our visual blueprint, we must select ingredients that react specifically to heat. Using chicken thighs instead of breasts is non-negotiable here, as the higher fat content allows for a harder sear without the meat drying out during the glazing process.
1.5 lbs (680g) Boneless Skinless Chicken Thighs: Cut these into uniform 1-inch (2.5cm) pieces to ensure even cooking and maximum surface area for the sauce to cling to. The fat in the thighs renders down, helping to create those coveted charred edges.
1/2 cup (120ml) Low-Sodium Soy Sauce: This provides the salty, umami base and the deep pigment necessary for that dark amber hue. Using low-sodium allows you to control the salt levels as the sauce reduces and intensifies.
1/4 cup (60ml) Mirin: This Japanese rice wine adds a gentle acidity and a distinct luster to the sauce. It contains sugars that help achieve the glossy, light-reflecting finish we see in the professional photography.
3 tbsp (45g) Brown Sugar or Honey: While mirin adds sweetness, the addition of honey or brown sugar is what creates the “honey-like viscosity.” These sugars caramelize quickly when they hit the hot pan.
1 tbsp (15g) Fresh Ginger, grated: Ginger provides a sharp, spicy undertone that cuts through the richness of the soy and sugar. It should be finely grated so it melts into the sauce.
2 cloves Garlic, minced: Garlic adds an essential aromatic depth. Ensure it is minced finely so it distributes evenly across every piece of chicken.
1 tbsp (15ml) Neutral Oil: Use an oil with a high smoke point, like avocado or canola oil. This is vital for searing the chicken at high temperatures to achieve those “blistered” edges.
2 cups (370g) Jasmine Rice: This long-grain rice should be rinsed until the water runs clear to ensure it stays fluffy and separate, rather than gummy. It provides the perfect snowy-white backdrop for the dark chicken.
Garnishes for the Final Flourish: You will need 2 scallions cut on an oblique (diagonal) angle, 1 tsp (3g) toasted white sesame seeds, and a pinch of crushed red chili flakes for a pop of color and heat.
Pro-Level Tools for the Perfect Sear
Achieving the “rustic ceramic bowl” look requires more than just good ingredients; you need the right tools to manage heat effectively. A heavy-bottomed cast iron skillet or a high-quality stainless steel pan is preferred over non-stick for this recipe.
The reason we avoid non-stick for the initial sear is that we want the chicken to develop a “fond”—those little brown bits that stick to the pan. When you add the liquid teriyaki components, these bits deglaze and incorporate into the sauce, deepening the flavor and color significantly. You will also need a sharp chef’s knife to achieve the “oblique-cut” scallions, which are sliced at a 45-degree angle to create elongated, elegant pieces.
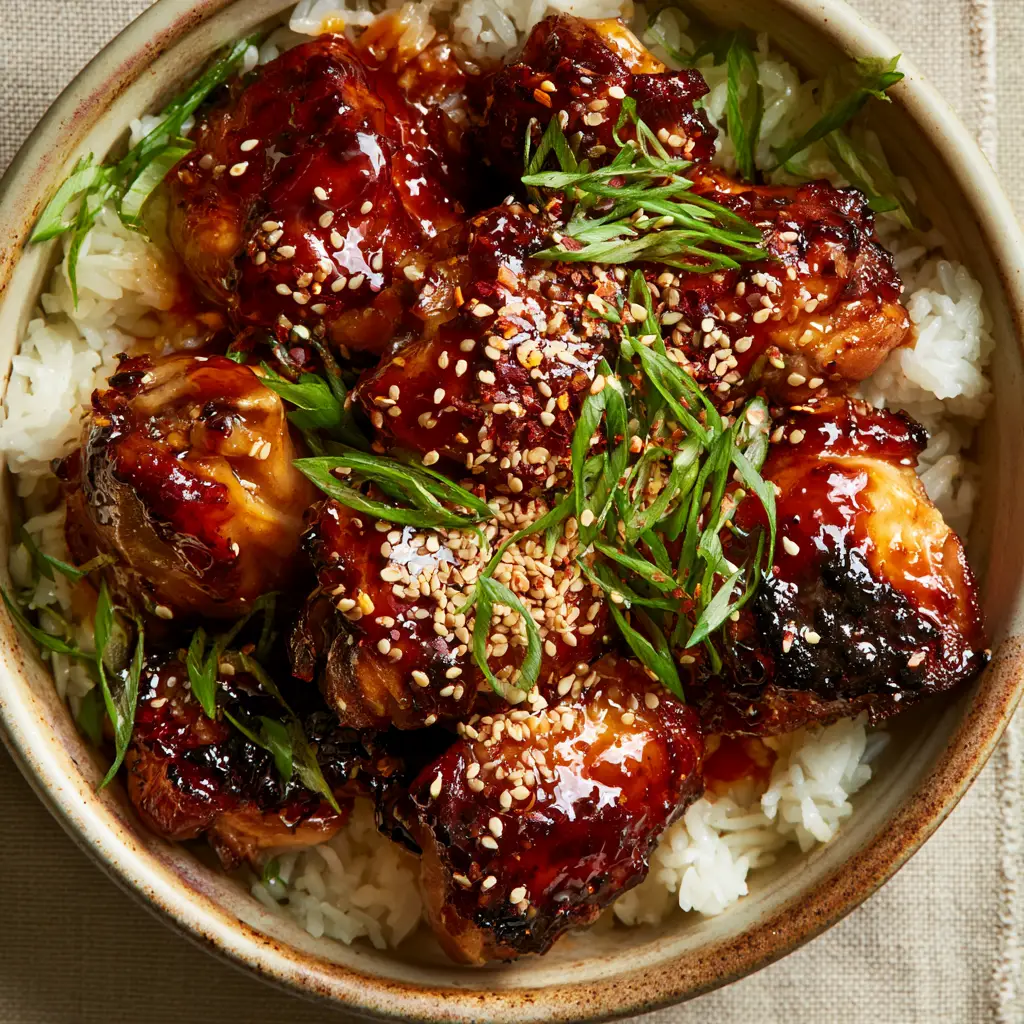
Mastering the Sizzle: Step-by-Step Excellence
Preparing the Aromatic Base and Rice
Start by rinsing your jasmine rice in a fine-mesh strainer. Combine 2 cups (370g) of rice with 2.5 cups (600ml) of water and a pinch of salt in a pot. Bring to a boil, then reduce to a simmer, cover, and cook for 15 minutes. Once done, let it sit covered for 5 minutes before fluffing with a fork to release the rising steam wisps.
While the rice cooks, whisk together the soy sauce, mirin, brown sugar, ginger, and garlic in a small bowl. This allows the flavors to meld before they hit the heat. In a separate tiny bowl, mix 1 tsp (5g) of cornstarch with 1 tbsp (15ml) of cold water to create a slurry; this is the secret to achieving that “thick, dark amber” viscosity.
Achieving the Perfect Pan Sear
Heat your 1 tbsp (15ml) of oil in a large skillet over medium-high heat. Wait until the oil is shimmering and just starting to wisps of smoke. Add the chicken pieces in a single layer, ensuring you don’t crowd the pan. If necessary, work in batches.
Let the chicken sit undisturbed for 3-4 minutes. You are looking for a deep golden-brown crust to form. Once the edges look charred and caramelized, flip the pieces. Continue to cook for another 3 minutes until the chicken is nearly cooked through and the pan is filled with the sound of a vigorous sizzle.
Glazing for High-Gloss Reflections
Pour the teriyaki sauce mixture directly over the seared chicken. The liquid will immediately begin to bubble and steam. Use a wooden spoon to scrape the bottom of the pan, releasing all the flavorful browned bits into the liquid.
Lower the heat to medium and pour in your cornstarch slurry. Stir constantly for 1-2 minutes. You will watch the sauce transform from a thin liquid into a thick, ultra-glossy glaze that shows visible light reflections. The sauce should coat the back of a spoon and cling heavily to the chicken pieces.
Secrets for That High-Gloss Visual Finish
To get that “handheld smartphone photo” quality, you must pay attention to the final seconds of cooking. The glaze should reach a state where it looks like liquid mahogany. If the sauce becomes too thick, add a teaspoon of water at a time to loosen it; if it’s too thin, let it reduce for another 30 seconds.
The “oblique-cut” scallions are more than just a garnish; they provide a fresh, sharp contrast to the heavy, sweet sauce. By cutting them on a sharp diagonal, you expose more of the internal structure of the onion, allowing it to catch the sauce. Sprinkle the toasted sesame seeds from high above to ensure an even, precise distribution across the dark chicken.
Perfect Pairings to Elevate Your Meal
While this teriyaki chicken is a star on its own, it fits perfectly within a broader rotation of global flavors. If you are looking for more ways to use this signature sauce, consider trying these Hawaiian teriyaki chicken kabobs for your next outdoor gathering.
For those who prefer a hand-held version, this recipe can easily be adapted into a teriyaki chicken wrap with some crunchy slaw. If you have dietary restrictions, you can swap the soy sauce for tamari to create a delicious gluten-free teriyaki chicken that doesn’t sacrifice any of the glossy texture.
If you’re in the mood for other international favorites, this chicken pairs beautifully alongside a vibrant chinese recipe like stir-fried bok choy or even some spicy dan dan noodles for a true feast.
Frequently Asked Questions
While you can use breast, chicken thighs are preferred for teriyaki because their higher fat content allows for better caramelization and charred edges without drying out.
The key is a high-smoke-point oil and a very hot skillet. Do not move the chicken for the first 3-4 minutes; this allows the sugars and proteins to undergo the Maillard reaction.
To achieve a thick, honey-like viscosity, use a combination of sugar reduction and a cornstarch slurry (1 tsp cornstarch to 1 tbsp water). Simmer until the sauce coats the back of a spoon.
Yes, jasmine rice is ideal because its aromatic profile complements the ginger and garlic in the teriyaki sauce, and its fluffy texture absorbs the glossy glaze perfectly.
An oblique cut is a diagonal slice at a 45-degree angle. This creates more surface area for the sauce to cling to and provides a professional, elongated look to the garnish.
The Ultimate Glossy Teriyaki Chicken Recipe
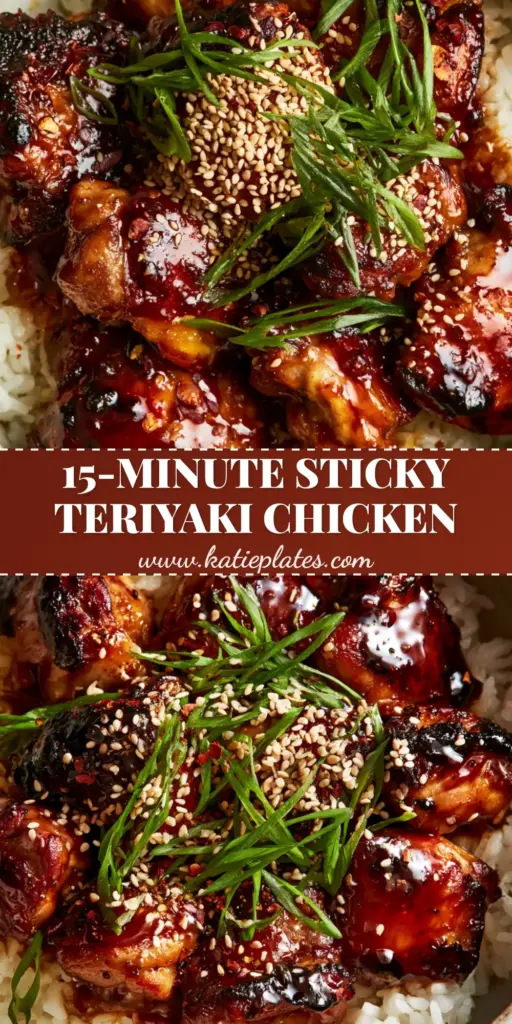
Teriyaki Chicken: The Ultimate Glossy Pan-Seared Thighs over Jasmine Rice
Ingredients
Equipment
Method
- Rinse 2 cups (370g) jasmine rice until water is clear. Combine with 2.5 cups (600ml) water in a pot, bring to boil, then simmer covered for 15 minutes. Fluff and let steam wisps rise.
- Heat 1 tbsp (15ml) oil in a large skillet over medium-high heat. Add chicken thigh pieces in a single layer. Sear for 3-4 minutes undisturbed until caramelized edges and charred bits form. Flip and cook for 3 more minutes.
- Whisk soy sauce, mirin, sugar, ginger, and garlic. Pour over chicken. Add cornstarch slurry. Stir constantly until the sauce becomes a thick, dark amber, ultra-glossy glaze with visible light reflections.
- Spoon chicken over fluffy jasmine rice. Garnish heavily with oblique-cut scallions, toasted sesame seeds, and red chili flakes.
Notes
Ensure the mirin is 'hon-mirin' for the most authentic glossy finish.
Bring the Restaurant Home Today
This teriyaki chicken recipe is designed to bring a high-end culinary aesthetic to your dinner table. By focusing on the science of the sear and the reduction of the glaze, you create a dish that is as visually stunning as it is delicious. The combination of charred chicken, glossy sauce, and fluffy jasmine rice is a timeless classic for a reason.
We invite you to share your results and tag us in your photos! If you enjoyed this guide to perfect caramelization, please consider signing up for our newsletter for more deep-dives into culinary techniques. Don’t forget to save this recipe to your favorite boards on Pinterest so you always have it on hand.