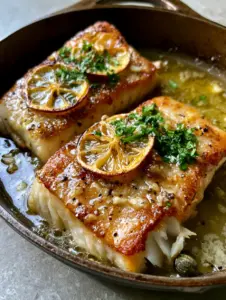
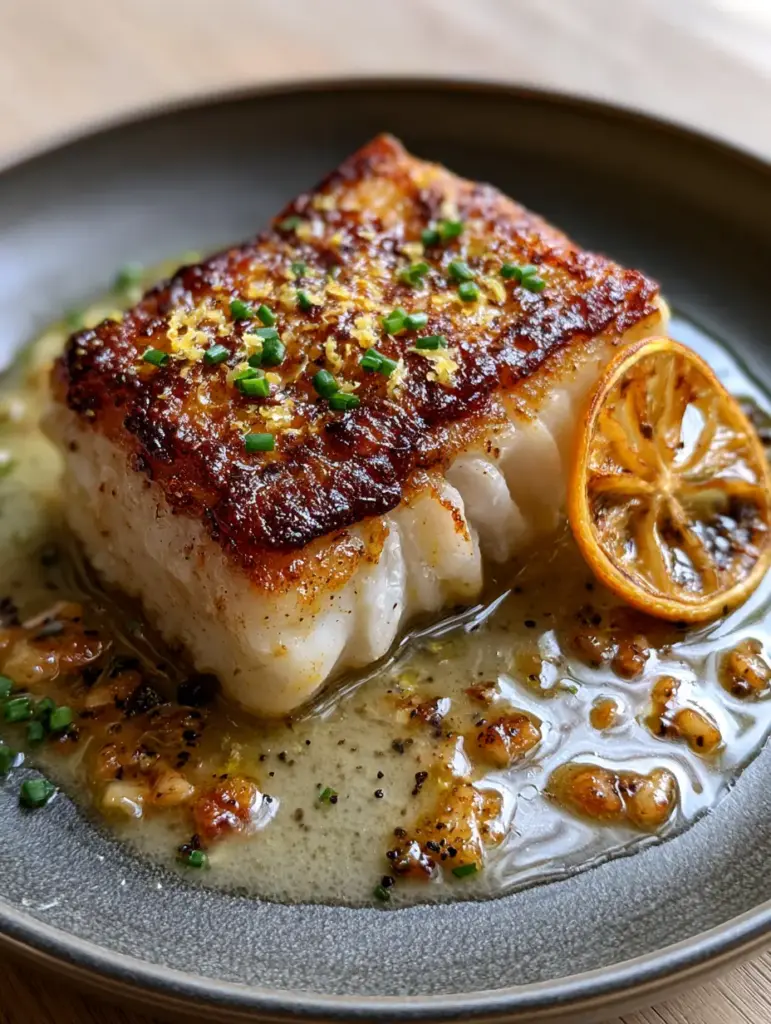
Seared cod fillets are the ultimate “restaurant-quality” meal that you can actually master in under 20 minutes at home. If you have ever scrolled through Pinterest and stopped at a photo of a perfectly thick, center-cut Atlantic cod loin with a deep mahogany-gold crust, this is that exact recipe. The secret lies in the contrast: a crisp, savory exterior giving way to pristine, flaky white fish that melts in your mouth.
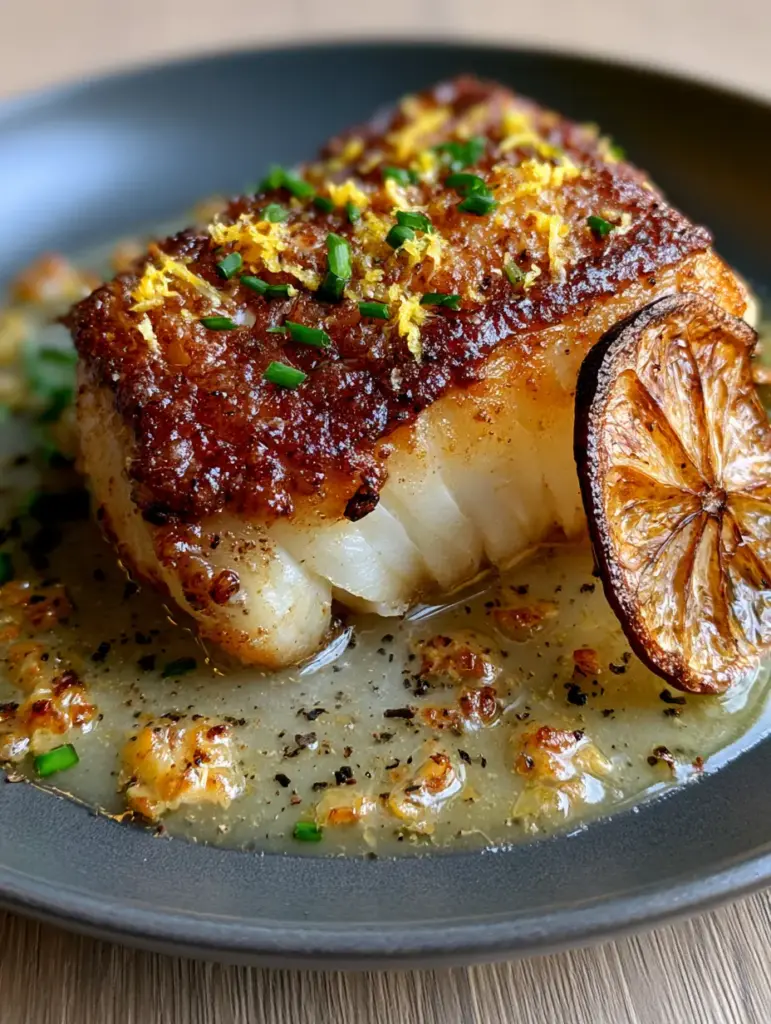
In this guide, we are breaking down the professional culinary techniques required to achieve that elusive caramelized crust without overcooking the delicate interior. We will finish the dish with a translucent, glossy lemon-garlic butter sauce, flecked with tiny bits of toasted minced garlic and fresh chives. Whether you are a fan of a bold blackened cod recipe or prefer a classic lemon butter cod, this method is the gold standard for seafood lovers.
Why These Seared Cod Fillets Are a Pinterest Viral Favorite
- The Perfect Crust: We use high-heat searing techniques to create a thick, golden-brown caramelized exterior.
- Flaky Texture: By using thick-cut cod loins, we ensure the interior remains juicy and separates into large, pearly flakes.
- The “Liquid Gold” Sauce: A butter-basting finish with toasted garlic and cracked black pepper creates a decadent flavor profile.
- Visually Stunning: Topped with micro-planed lemon zest and bright green chives, this dish pops beautifully against any table setting.
The Anatomy of a Perfect Cod Loin: Essential Ingredients
To achieve the results seen in our seared cod fillets, the quality of your ingredients is paramount. Unlike a thin fillet, a “loin” is the prime center-cut portion of the fish, offering the thickness necessary to withstand high heat while staying moist.
1. Thick Atlantic Cod Loins: Look for pieces at least 1.5 inches (3.8cm) thick. This thickness allows the outside to sear deeply before the heat reaches the center. If you enjoy this cut, you might also like learning how to cook steelhead trout for a similar thick-cut experience.
2. High Smoke Point Oil: Use avocado oil or grapeseed oil for the initial sear. Butter has too low a smoke point and will burn before the fish develops a crust.
3. Cold Unsalted Butter: We add this at the very end. As it melts, it emulsifies with the lemon juice to create a glossy, translucent sauce.
4. Fresh Aromatics: Four cloves of garlic, finely minced, provide those signature “toasted bits.” Fresh chives and micro-planed lemon zest add the essential bright, herbaceous finish.
5. The “Charred” Lemon: We sear paper-thin lemon wheels directly in the pan to caramelize their natural sugars, intensifying the citrus aroma.
The Science of the Sear: Prep Like a Pro
The “Bone Dry” Rule for Crispy Skin
The biggest enemy of seared cod fillets is moisture. If your fish is wet, it will steam rather than sear. Use heavy-duty paper towels to pat the cod loins extremely dry on all sides. Let them sit at room temperature for 10-15 minutes; cold fish will drop the pan temperature instantly, ruining your crust.
Seasoning for Maximum Flavor
Just before the fish hits the pan, season generously with Kosher salt and freshly cracked black pepper. Do not season too early, as salt draws out moisture, which—again—leads to steaming instead of searing. If you love bold flavors, check out our grilled fish marinades for more seasoning inspiration.
Step-by-Step: Mastering the Pan-Sear
Achieving the Mahogany Crust
Heat a heavy stainless steel or cast-iron skillet over medium-high heat. Add 2 tablespoons (30ml) of high-smoke point oil. Wait until the oil is shimmering and just beginning to wisps of smoke. Carefully lay the cod fillets into the pan, laying them away from you to avoid splashes.
Visual Cue: Do not touch the fish for at least 3-4 minutes. You will see a golden-brown ring forming at the base of the fish. Use a flexible fish spatula to gently check; if it resists, it’s not ready to flip. Once it releases easily, flip to reveal that deep mahogany-gold crust.
The Butter Basting Technique
Once flipped, reduce the heat to medium. Add 3 tablespoons (42g) of butter, the minced garlic, and the paper-thin lemon wheels to the pan. As the butter foams, use a large spoon to continuously pour the hot garlic-lemon butter over the seared crust.
Sensory Cue: You will smell the garlic turning from raw to “toasted.” It should be golden brown, not black. The lemon wheels will begin to char at the edges, releasing an incredible fragrance that permeates the seared cod fillets.
The Finishing Touches
Remove the pan from the heat when the internal temperature reaches 135°F (57°C). The residual heat will carry it to the perfect 145°F (63°C). Immediately grate fresh lemon zest over the top and sprinkle with a precise dusting of finely chopped chives.
Expert Tips for Success
- Don’t Crowd the Pan: Give the fillets space. If they are too close, the moisture they release will steam the neighboring piece.
- Use a Fish Spatula: These thin, flexible metal spatulas are designed to slide under delicate fish without breaking the crust.
- Monitor the Garlic: If the garlic bits are browning too fast, slide them on top of the fish fillets to protect them from the direct heat of the pan.
- Cast Iron is King: For the most even, professional-grade crust, a well-seasoned cast iron skillet is unbeatable.
Storage, Reheating & Freezing
Storage: Place leftover seared cod fillets in an airtight container for up to 2 days. Seafood is best enjoyed fresh, but it can be salvaged!
Reheating: Avoid the microwave at all costs. Reheat gently in a pan with a splash of water or butter over low heat, covered, until just warmed through.
Freezing: While you can freeze cooked cod, the texture of the crust will be lost. It is better to use leftover fish in a seafood stew or fish cakes. If you are a fan of stews, try our crab stew for a hearty alternative.
What to Serve With This Dish
To complement the richness of the lemon garlic butter, serve these seared cod fillets over a bed of garlicky sautéed spinach or alongside roasted fingerling potatoes. For a lighter option, a crisp arugula salad with a light vinaigrette cuts through the butter beautifully. If you’re looking for a surf-and-turf feel, consider a side of lemon garlic butter mussels.
Frequently Asked Questions
Yes, but it must be completely thawed in the refrigerator and then patted extremely dry. Frozen fish often holds more moisture, so extra care is needed to prevent steaming.
The key is to pat the fish completely dry with paper towels and ensure your oil is shimmering hot before adding the fish. Once in the pan, do not move the fillets for at least 3 minutes to allow the crust to set.
A loin is the thickest, center-cut portion of the fish, whereas a fillet can include the thinner tail section. Loins are preferred for searing because they don’t overcook as easily.
Cod is perfectly cooked when it reaches an internal temperature of 145°F (63°C). Pull it off the heat at 135°F (57°C) as residual heat will finish the cooking.
Garlic burns quickly at high heat. Add the minced garlic only after flipping the fish and reducing the heat to medium, allowing it to toast gently in the melting butter.
The Ultimate Seared Cod Fillet Recipe Card
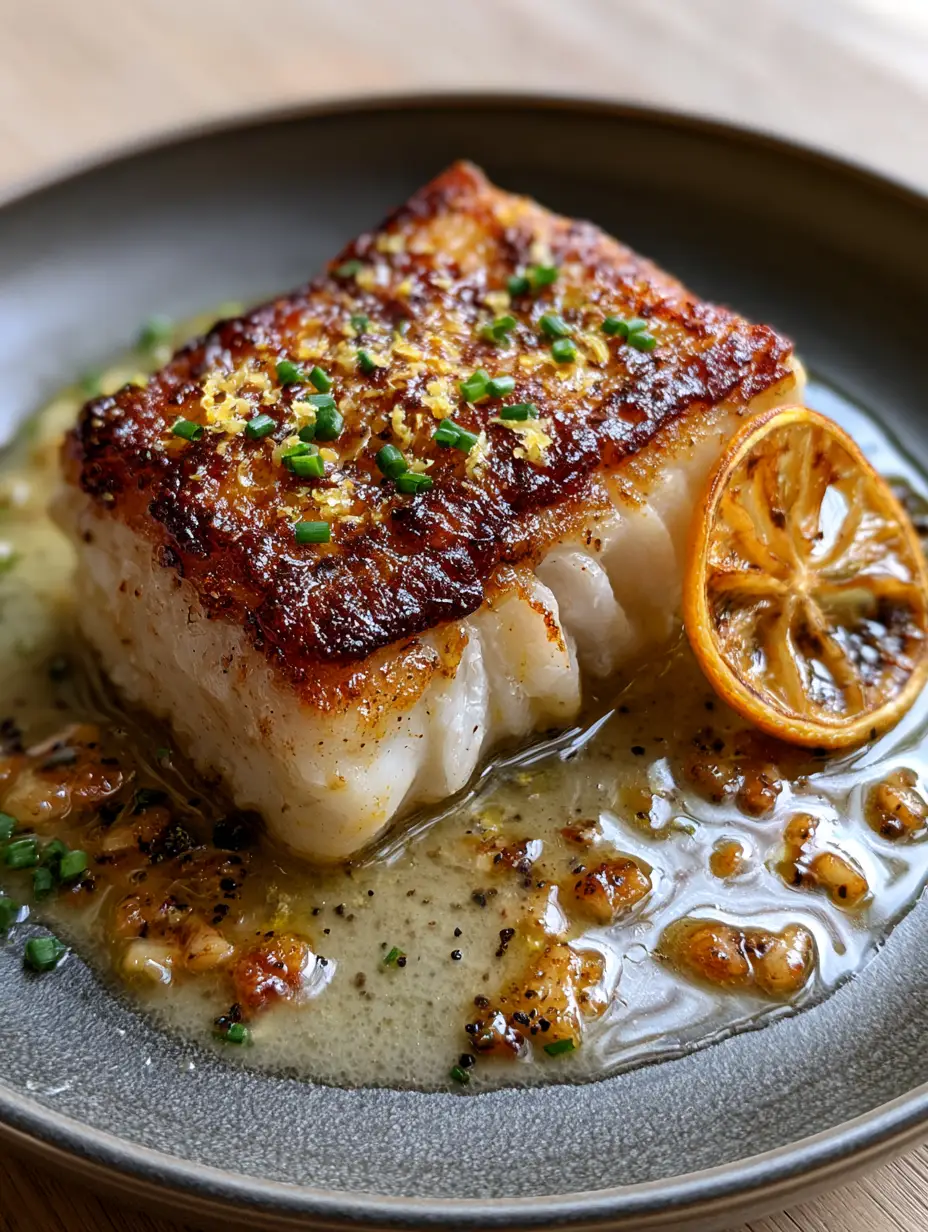
Seared Cod Fillets with Lemon Garlic Butter and Toasted Garlic
Ingredients
Equipment
Method
- Pat the cod loins extremely dry with paper towels on all sides. Let sit at room temperature for 10 minutes.
- Generously season all sides with salt and freshly cracked black pepper just before cooking.
- Heat oil in a skillet over medium-high until shimmering. Place cod in the pan and sear undisturbed for 3-4 minutes until a deep golden crust forms.
- Flip the fish. Reduce heat to medium. Add butter, minced garlic, and lemon wheels. Spoon the foaming butter over the fish for 3 minutes.
- Remove from heat at 135°F (57°C). Top with micro-planed lemon zest and fresh chives. Serve in the butter sauce.
Notes
Use a high smoke point oil to prevent bitter, burnt flavors.
Share Your Culinary Success!
Did you achieve that perfect golden crust? We want to see it! Save this recipe to your Pinterest Fish Recipes board so you never lose it. Follow @katieplates for more high-end seafood inspiration. If you made this, please leave a 5-star rating in the recipe card above and drop a photo of your results in the comments below!