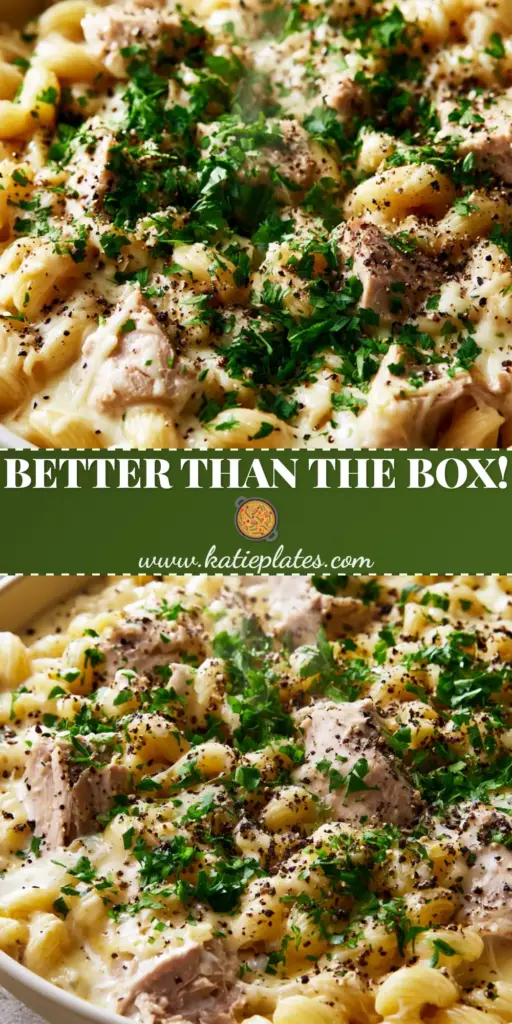
Homemade tuna helper is the ultimate nostalgia-fueled comfort food, but this elevated version leaves the boxed stuff in the dust. Imagine tender, ribbed elbow macaroni swimming in a thick, glossy, pale-golden cheese sauce that clings to every curve. We’ve traded dehydrated mystery powders for sharp white cheddar and fresh aromatics to create a meal that is as visually stunning as it is delicious.
This one-pot wonder features large, flaky chunks of light pink tuna nestled between pasta ridges, finished with a heavy garnish of bright green parsley and coarse cracked black peppercorns. As the steam wisps rise from your matte cream ceramic skillet, you’ll realize that dinner doesn’t get more satisfying than this. If you love deep-sea flavors, you might also enjoy our guide to searing fresh tuna steaks for a different take on seafood night.
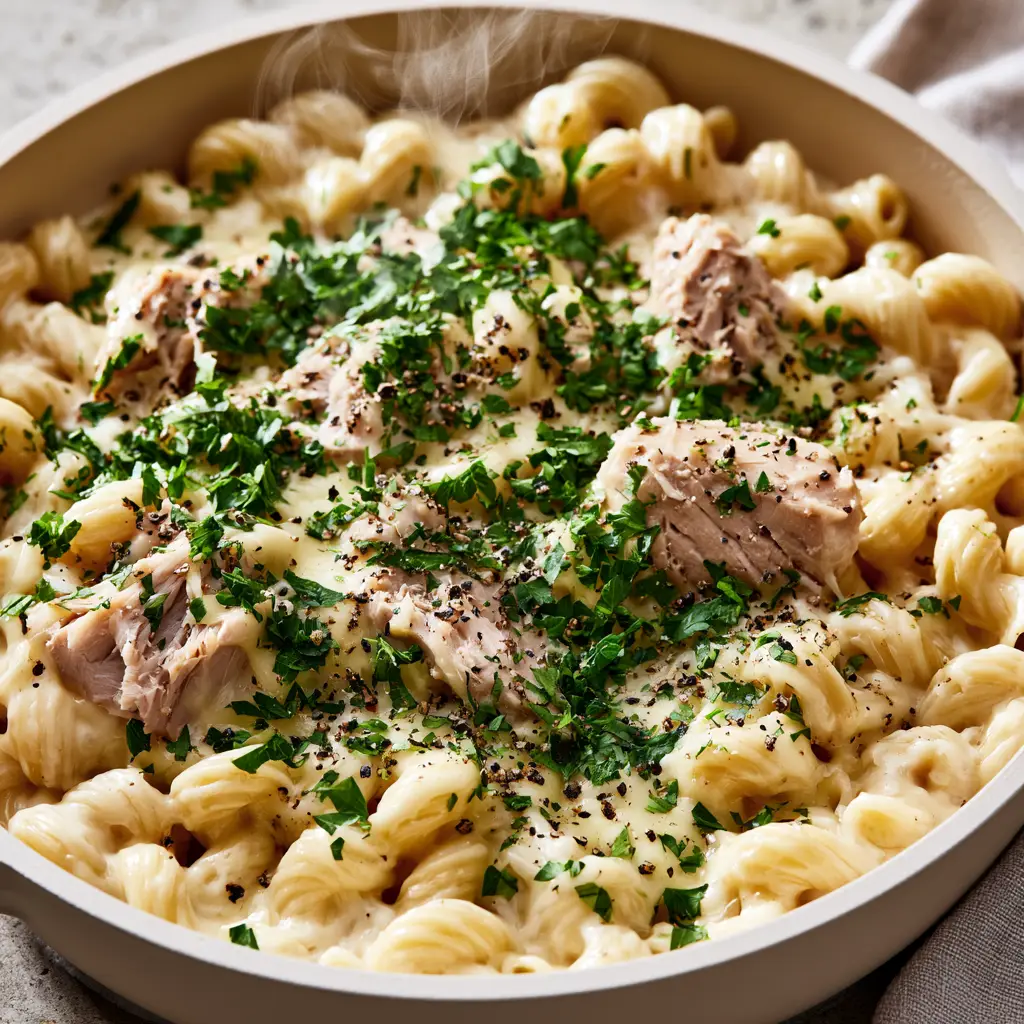
Why This One-Pot Tuna Pasta Works
- Ribbed Elbow Macaroni: The ridges aren’t just for looks; they are engineered to trap the maximum amount of creamy cheddar sauce in every bite.
- Dual-Cheddar Profile: We use a base of sharp yellow cheddar for that classic golden glow and finish with melted white cheddar shreds for those signature cheese pulls.
- One-Pot Magic: By cooking the pasta directly in the milk and broth, the released starches naturally thicken the sauce into a velvet-like consistency.
- Fresh Finishes: The contrast between the rich, heavy sauce and the bite of cracked black pepper and fresh parsley creates a balanced, professional-grade flavor profile.
The Elevated Ingredients for Homemade Tuna Helper
Ribbed Elbow Macaroni: 16 oz (450g). You need the “rigate” or ribbed version to ensure the sauce doesn’t just slide off the pasta.
Flaked Light Tuna: Two 5 oz (142g) cans. Opt for tuna in water, drained well, to keep the pink color bright and the texture flaky rather than oily.
Sharp White Cheddar: 1.5 cups (170g), freshly shredded. Avoid pre-shredded bags; the cellulose coating prevents that glossy, stringy melt seen in the photos.
Whole Milk & Chicken Broth: 2 cups (480ml) each. This liquid gold combination provides the fat needed for creaminess and the savory depth for the base.
Unsalted Butter & Flour: 3 tbsp (42g) each. This creates a quick roux to ensure your homemade tuna helper never turns watery.
Seasoning Trio: Garlic powder, onion powder, and a hint of dry mustard. These “invisible” ingredients provide the savory backbone that mimics the boxed flavor we love, but better.
Fresh Garnish: 1/4 cup (10g) finely chopped flat-leaf parsley and 1 tsp (2g) coarse cracked black peppercorns for a sharp, aromatic finish.
Building the Flavor Foundation
Start by melting your butter in a large ceramic skillet over medium heat. Once it bubbles, whisk in the flour to create a golden paste. This is the secret to a sauce that stays thick and creamy even as it cools.
Slowly pour in your milk and broth, whisking constantly to prevent lumps. You want a smooth, pale-golden liquid that looks like a blank canvas for your cheese.
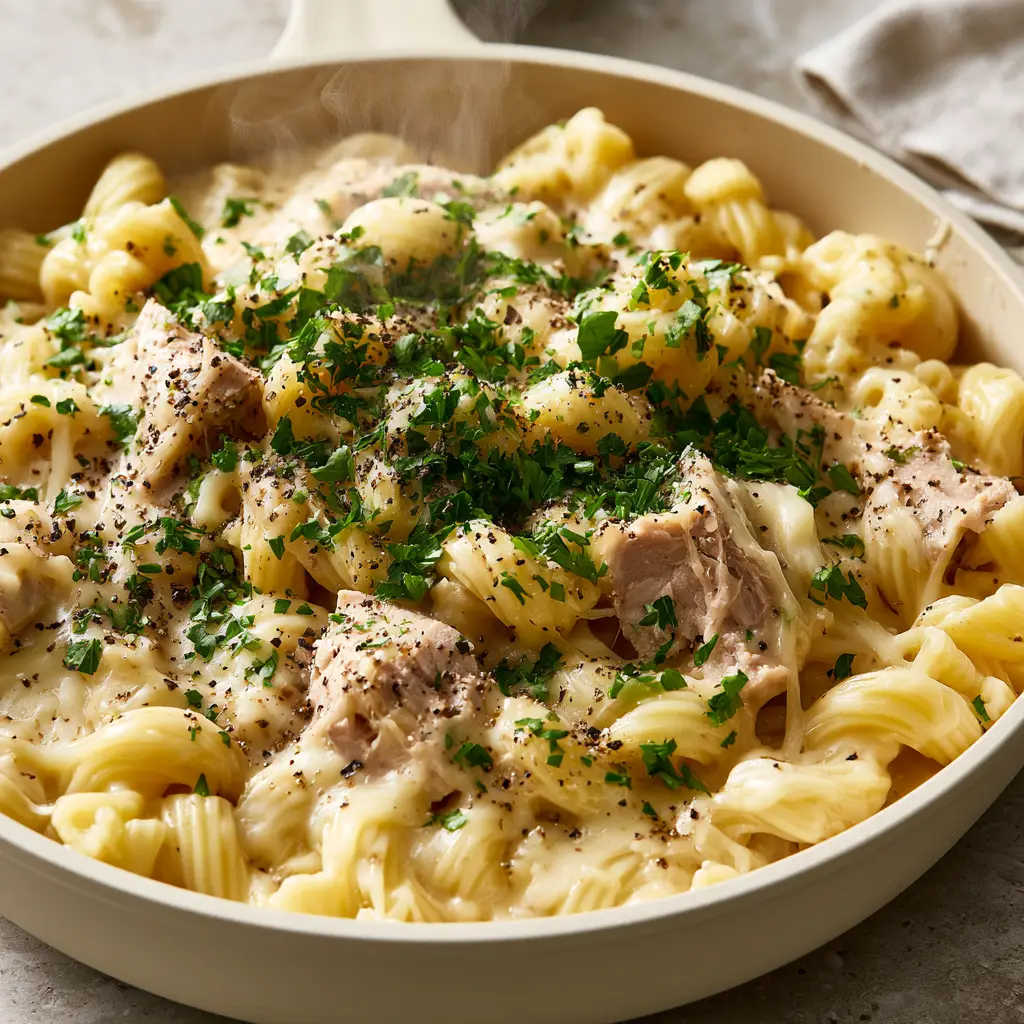
Mastering the Pasta Texture
Stir in your ribbed elbow macaroni and bring the liquid to a gentle simmer. Do not boil aggressively. A gentle simmer allows the pasta to release starch slowly, thickening the liquid into a glossy sauce.
Cook for about 8-10 minutes. You are looking for “al dente”—the pasta should have a slight bite because it will continue to soften once we add the tuna and cheese. If you prefer a lighter seafood dish after this rich meal, consider trying our pan-seared cod fillets.
The Final Fold: Tuna and Cheese
Once the pasta is tender and the sauce has reduced to a thick coating, turn the heat to low. Gently fold in the flaked light tuna. Be careful not to over-stir; you want those large, light pink chunks to remain visible and intact.
Sprinkle the sharp white cheddar shreds over the top. Cover the skillet for 60 seconds to let the cheese transform into gooey, melted strings. This creates the “visual bridge” of white cheddar against the golden sauce.
Sensory Finish and Garnish
Remove the lid and witness the steam wisps rising from the skillet. Immediately shower the dish with the finely minced parsley. The heat from the pasta will release the herb’s oils, creating a fresh, earthy aroma.
Finish with a generous dusting of coarse cracked black peppercorns. The dark specks against the creamy sauce provide both a visual pop and a necessary bite to cut through the richness of the cheddar.
Expert Tips for Success
- Temperature Control: If the sauce gets too thick too quickly, add a splash of warm milk. Never add cold milk to a hot skillet, or the cheese might break and become grainy.
- Tuna Prep: Drain the tuna thoroughly and use a fork to break it into large chunks, not a fine mash. The texture of the meat is crucial for a premium homemade tuna helper.
- Cheese Grating: Always grate your white cheddar from a block. The starch in pre-shredded cheese can make the sauce feel gritty on the tongue.
- Skillet Choice: Use a heavy-bottomed skillet (like the matte cream ceramic one pictured) to ensure even heat distribution and prevent the bottom of the pasta from scorching.
Storage, Reheating & Freezing
To Store: Keep leftovers in an airtight container in the fridge for up to 3 days. The pasta will absorb more sauce as it sits, so it will be even thicker the next day!
To Reheat: Add a tablespoon of milk or water before microwaving or reheating on the stove. This loosens the cheese sauce and restores that glossy, freshly-cooked look.
To Freeze: While you can freeze this, dairy-based sauces can sometimes separate. If you do freeze it, thaw it overnight in the fridge and stir vigorously while reheating to re-emulsify the sauce.
What to Serve With This One-Pot Wonder
Since this homemade tuna helper is quite rich, pair it with something bright and acidic. A crisp green salad with a lemon vinaigrette works wonders. Alternatively, steamed green beans or roasted broccoli provide a nice textural contrast to the soft macaroni.
If you’re looking for more seafood inspiration for your weekly meal prep, check out our lemon garlic butter mussels or this classic clams and mussels recipe.
Frequently Asked Questions
Absolutely! Peas, sautéed mushrooms, or blanched broccoli are classic additions that pair perfectly with the creamy cheddar base.
Yes, but ribbed shapes like elbow macaroni rigate, shells, or fusilli are best because their texture helps the thick cheese sauce cling to the noodles.
Add the tuna at the very end and gently fold it in with a spatula rather than stirring vigorously. This keeps the light pink flakes large and distinct.
Canned light tuna in water is ideal. It has a milder flavor and a better pink color that looks much more appetizing against the golden sauce than oil-packed varieties.
Graininess usually happens if you use pre-shredded cheese (which contains anti-clumping starches) or if you add the cheese to a sauce that is boiling too hard. Always use block cheese and low heat.
The Ultimate One-Pot Homemade Tuna Helper Recipe
Homemade Tuna Helper: The Ultimate Creamy One-Pot Macaroni
Ingredients
Equipment
Method
- In a large skillet, melt butter over medium heat. Whisk in flour and cook for 1 minute until bubbly and pale golden.
- Slowly whisk in the milk, chicken broth, garlic powder, and onion powder until smooth.
- Add the ribbed elbow macaroni to the skillet. Bring to a simmer, stirring frequently to prevent sticking.
- Cook for 8-10 minutes until the pasta is al dente and the liquid has thickened into a glossy sauce.
- Reduce heat to low. Gently fold in the drained tuna flakes, keeping them in large chunks.
- Stir in 1 cup of white cheddar until smooth, then sprinkle remaining 1/2 cup on top. Cover for 1 minute to melt.
- Remove lid, garnish heavily with fresh parsley and cracked black peppercorns. Serve while steam wisps are visible.
Notes
Tip: Freshly grate your cheese for the smoothest possible sauce texture.
Join the KatiePlates Community!
If you loved this homemade tuna helper, please save this recipe to your Favorite Comfort Foods board on Pinterest! It helps other home cooks find this creamy, one-pot magic.
Don’t forget to follow @katieplates for more high-protein, family-friendly dinners. Did you make this? Share a photo of your skillet in the comments below or tag us—we love seeing those steam wisps and melty cheese pulls! Please leave a 5-star rating in the recipe card if you enjoyed every bite.