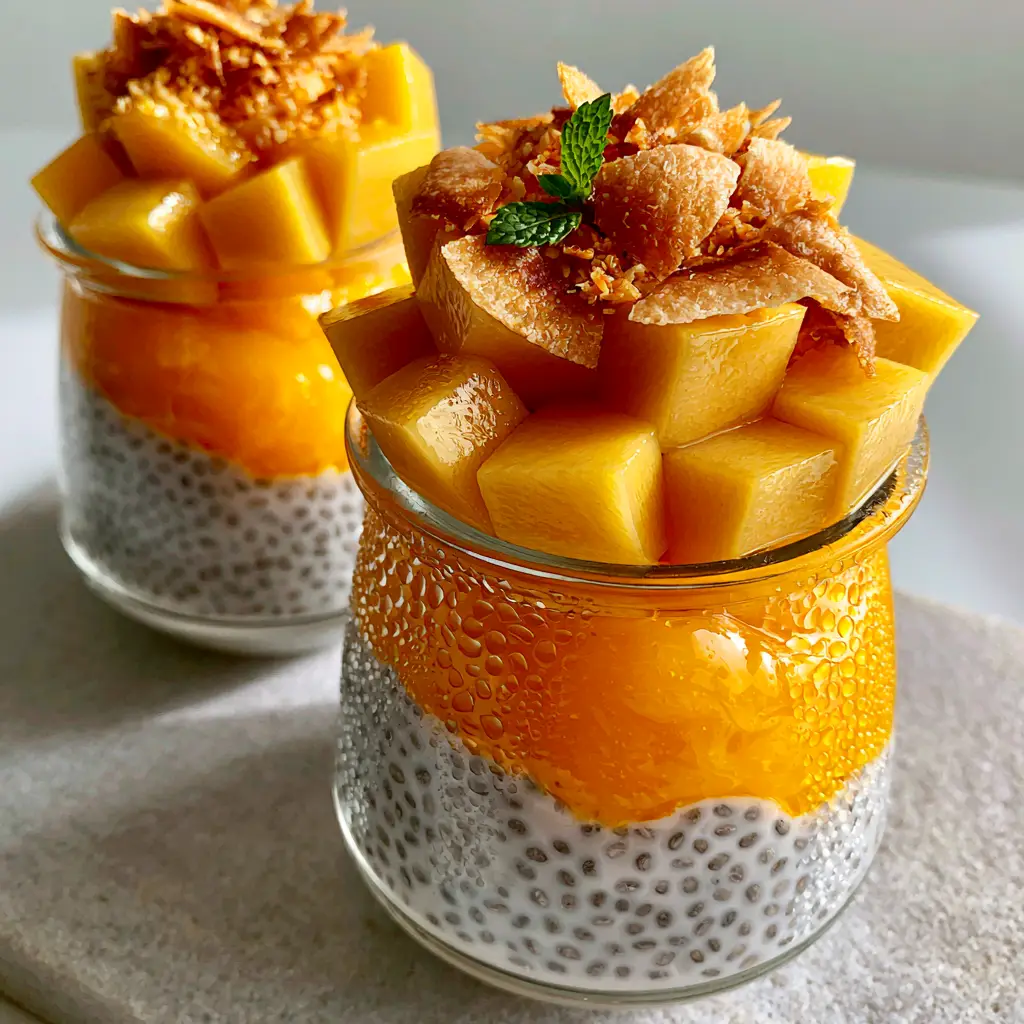
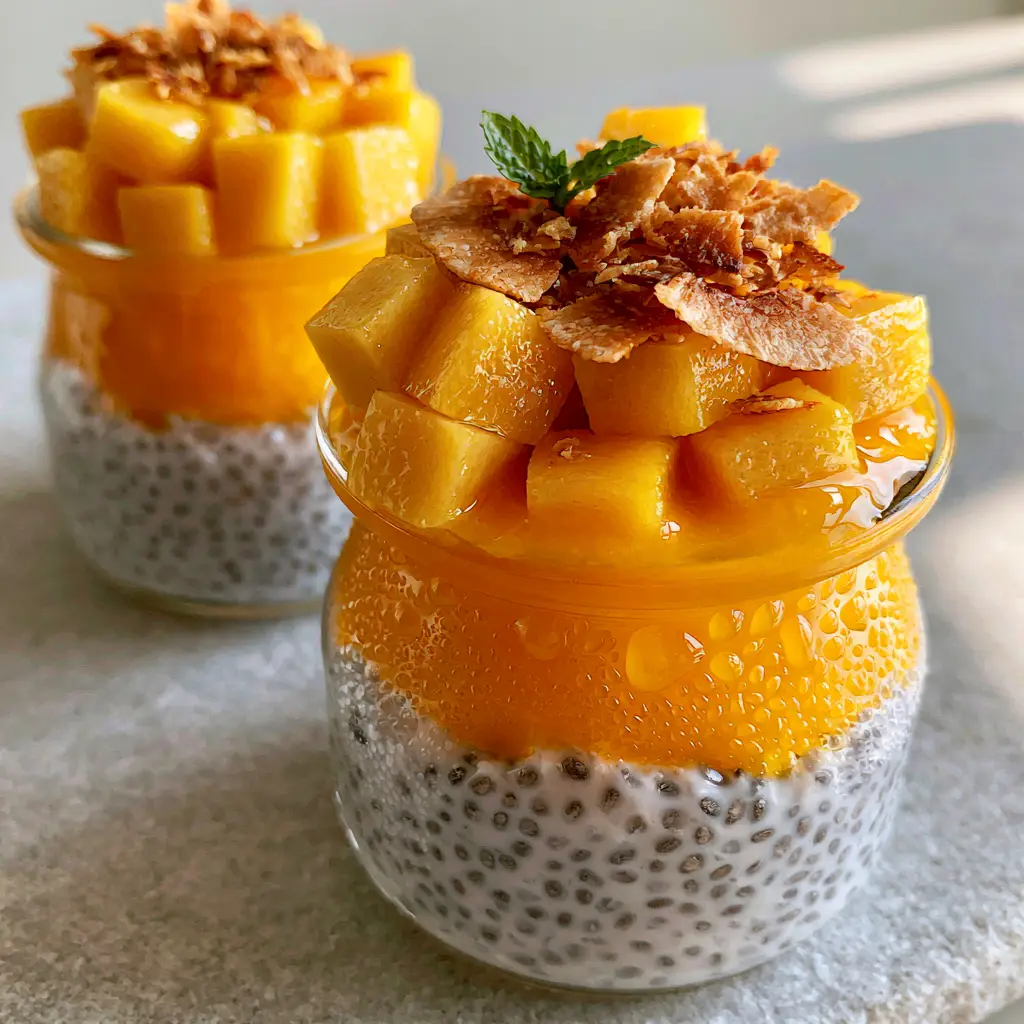
There is a specific magic that happens when early morning sunlight hits a chilled glass mason jar, illuminating the delicate droplets of natural condensation clinging to the exterior. Within that jar lies the Mango Coconut Chia Pudding, a vibrant symphony of textures and tropical flavors that feels more like a gourmet dessert than a nutritious breakfast. This dish isn’t just a meal; it’s a visual and sensory experience designed to transport you to a sun-drenched island from the very first spoonful.
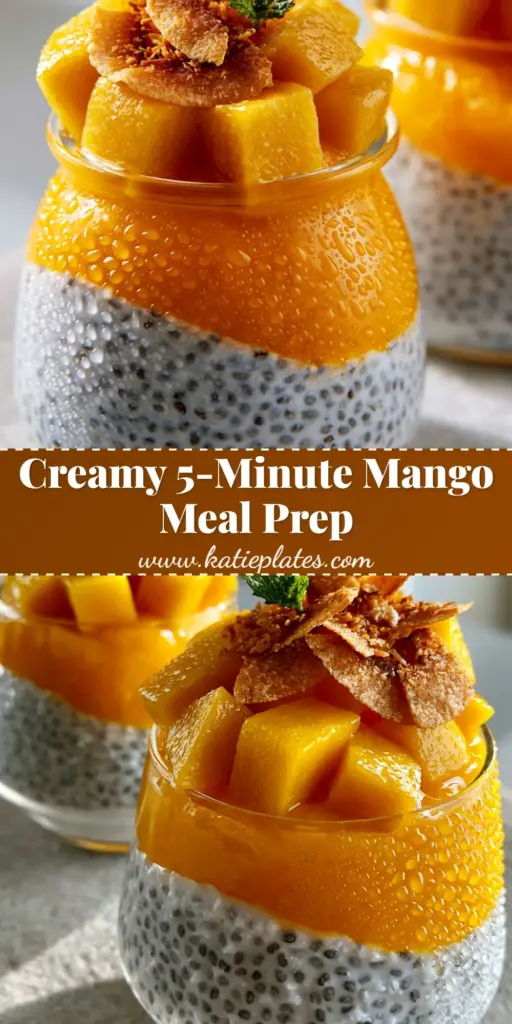
The stark contrast between the creamy white coconut chia base, peppered with plump black seeds, and the glossy, vibrant orange mango puree is a hallmark of culinary aesthetics. When topped with a generous heap of golden mango cubes and the crunch of toasted coconut ribbons, you achieve a balance of flavors that is as sophisticated as it is satisfying. Whether you are meal prepping for a busy work week or hosting an elegant brunch, this recipe delivers on every professional culinary promise.
Why This Vibrant Layered Treat is a Breakfast Game Changer
- Textural Harmony: The recipe marries the velvety smoothness of full-fat coconut milk with the satisfying “pop” of hydrated chia seeds and the fibrous bite of fresh mango.
- Visually Stunning Presentation: The distinct layering technique ensures a restaurant-quality look, featuring that signature bright orange puree middle and a crown of toasted coconut.
- Nutrient-Dense Foundations: Packed with Omega-3 fatty acids, fiber, and vitamin C, this pudding provides sustained energy without the mid-morning sugar crash.
- Naturally Vegan and Gluten-Free: A plant-based powerhouse that accommodates various dietary needs without sacrificing the indulgence of a
.
Essential Elements for the Perfect Coconut Chia Base
Black Chia Seeds: You will need 1/4 cup (40g) of high-quality black chia seeds. These provide the structural integrity of the pudding, transforming the liquid base into a thick, spoonable gel as they hydrate over several hours.
Full-Fat Coconut Milk: Use 1 cup (240ml) of canned coconut milk for the most decadent, creamy white result. Unlike carton-based coconut milk, the canned variety contains the essential fats needed to achieve the “creamy white” visual specified in our blueprint.
Pure Maple Syrup: 1 tbsp (15ml) of grade A maple syrup adds a gentle, earthy sweetness. This foundational sweetener dissolves perfectly into the cold milk, ensuring no grainy texture remains in the final pudding.
Pure Vanilla Extract: 1/2 tsp (2.5ml) acts as a flavor enhancer, bridging the gap between the nutty coconut and the floral mango. It adds a professional depth of flavor that separates home-cook versions from elite recipes.
Fine Sea Salt: A tiny pinch (0.5g) is the “invisible” ingredient that balances the sweetness and highlights the tropical notes. Never skip the salt in a sweet recipe, as it provides the necessary culinary contrast.
Crafting the Glossy Mango Puree and Golden Toppings
Fresh Ripe Mangoes: You will need 2 large mangoes (approx. 600g). Half will be processed into a thick, glossy puree for the middle layer, while the other half is meticulously diced into the “perfectly cubed” chunks that sit atop the jar.
Fresh Lime Juice: 1 tsp (5ml) added to the puree prevents oxidation and brightens the color. This ensures your orange layer remains vibrant and “glossy” rather than dulling over time in the refrigerator.
Large Coconut Ribbons: 2 tbsp (10g) of unsweetened coconut flakes are essential for that toasted, crispy garnish. These should be toasted until they reach a deep golden brown to provide a necessary textural “snap.”
Fresh Mint Sprigs: Small, vibrant green sprigs provide the final color contrast. The aromatic oils in the mint also provide a refreshing scent as you open the jar.
Professional Tools for Culinary Success
To achieve the precise layers shown in the visual blueprint, a few specific tools are required. You will need two 8oz (240ml) glass mason jars to showcase the layers and the condensation effect. A high-speed blender or food processor is necessary to achieve the “thick mango fruit puree” consistency without leaving behind any fibrous strings.
For the chia base, a small whisk is preferred over a spoon to ensure the seeds are evenly distributed and do not clump at the bottom. Finally, a small offset spatula or a long-handled spoon is helpful for carefully layering the puree over the chia base without disturbing the clean line between the white and orange sections.
Step-by-Step Architecture of the Mango Coconut Chia Pudding
1. Hydrating the Chia Base for Maximum Creaminess
In a medium mixing bowl, combine 1 cup (240ml) of full-fat coconut milk, 1/4 cup (40g) of black chia seeds, 1 tbsp (15ml) of maple syrup, vanilla, and salt. Whisk vigorously for at least 2 minutes; this initial whisking prevents the seeds from sinking and forming a solid block.
Cover the bowl and refrigerate for 15 minutes, then whisk one more time to break up any “clumps” of seeds. Let the mixture set in the refrigerator for at least 4 hours, or ideally overnight, until it becomes a thick, creamy white mixture with plump, visible seeds.
2. Fabricating the Vibrant Mango Puree
Peel and pit one of the mangoes, placing the flesh into a blender along with the lime juice. Blend on high speed until the mixture is completely smooth and exhibits a glossy, bright orange sheen. If the mango is slightly fibrous, pass the puree through a fine-mesh sieve to ensure a professional finish.
3. Toasting the Coconut Ribbons to Golden Perfection
Place the large coconut ribbons in a dry skillet over medium-low heat. Watch them closely, tossing frequently, for 3-5 minutes until the edges are curled and the color is a deep, toasted golden brown. Immediately remove them from the hot pan to stop the cooking process, as they can burn in seconds.
4. Precision Layering and Presentation
Take your chilled mason jars and fill the bottom half with the hydrated coconut chia mixture, smoothing the top with the back of a spoon. Carefully pour the mango puree over the chia layer to create a distinct middle band of orange. Top the puree with the freshly diced golden mango chunks, piling them high to the rim.
Finish the jars with a sprinkle of the toasted coconut ribbons and a single, tiny sprig of fresh green mint. For the best visual effect, let the jars sit at room temperature for 2 minutes to allow the “natural condensation” to form on the glass before serving.
Expert Tips for Visual and Flavor Excellence
- The “Double Whisk” Rule: Always whisk your chia pudding once, wait 15 minutes, and whisk again. This ensures the seeds stay suspended in the coconut milk for that perfectly even, “plump seed” look.
- Use Ripe Mangoes: For the most vibrant orange puree, look for mangoes that give slightly to pressure and have a sweet aroma at the stem. If your mangoes are pale, the middle layer will lack the “vibrant” punch required.
- Cold Glass Secret: To get those perfect droplets of condensation, ensure the jars and the pudding are thoroughly chilled before bringing them into a warmer room for serving.
- Texture Contrast: Don’t add the toasted coconut until the moment of serving. This keeps the ribbons crispy and prevents them from softening against the moist mango chunks.
Storing and Prepping Your Tropical Breakfast
The Mango Coconut Chia Pudding is an excellent candidate for meal prep. The chia base and the mango puree can be made up to 3 days in advance and stored in airtight containers. However, for the best visual appeal, assemble the layers no more than 24 hours before you plan to eat.
The fresh mango chunks will eventually release juices that might bleed into the puree, and the mint will wilt if left for too long. If you are preparing these for the week, store the toasted coconut ribbons in a small dry container at room temperature to maintain their crunch.
What to Serve with Your Layered Chia Pudding
While this pudding is a complete meal on its own, it pairs beautifully with other tropical or breakfast favorites. If you are serving this as part of a larger brunch spread, consider starting with a
to keep the coconut theme going. For those who prefer a savory contrast, a light
provides a clean, protein-rich pairing.
If you’re looking to expand your tropical repertoire after mastering this jar, you might also enjoy the bold flavors of a
for dinner, which utilizes the same creamy canned coconut milk base.
Frequently Asked Questions
Yes, frozen mango works well for the puree. Just ensure it is fully thawed before blending to maintain the glossy, smooth texture.
For the specific ‘creamy white’ visual and thick texture in the blueprint, canned full-fat coconut milk is essential. Carton milk is too thin.
Toasted coconut ribbons will stay crispy for about 2-3 days if stored in an airtight container at room temperature. Don’t add them until you serve.
Absolutely. It is rich in healthy fats, fiber, and vitamins, making it a satiating option that provides long-lasting energy.
This usually happens if the seeds weren’t whisked enough initially or if they are old. Ensure you whisk twice in the first 15 minutes and let it set for at least 4 hours.
The Ultimate Mango Coconut Chia Pudding Recipe
Mango Coconut Chia Pudding: The Ultimate Tropical Layered Breakfast Jar
Ingredients
Equipment
Method
- In a bowl, whisk coconut milk, chia seeds, maple syrup, vanilla, and salt for 2 minutes.
- Refrigerate for 15 minutes, whisk again to prevent clumping, then chill for at least 4 hours.
- Blend one peeled mango with lime juice until glossy and smooth.
- Toast coconut ribbons in a dry pan until golden brown and crispy.
- Fill jars halfway with white chia pudding, add a layer of orange puree, and top with mango cubes, coconut, and mint.
Notes
Toast the coconut ribbons right before serving for maximum crunch.
Start Your Morning with a Tropical Glow
This Mango Coconut Chia Pudding is more than just a healthy start to your day; it is a testament to how simple, whole ingredients can be transformed into a work of art. The creamy coconut base, the vibrant fruit, and the toasted crunch create a breakfast experience that satisfies both the palate and the eye. We invite you to try this recipe and share your results! Don’t forget to follow katieplates on Pinterest for more visually stunning recipe inspiration and tag us in your beautiful creations.