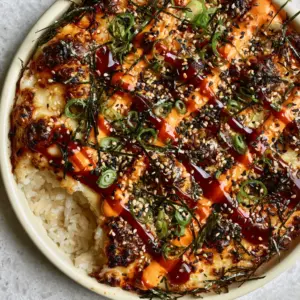
The Spicy Tuna Sushi Bake has taken the culinary world by storm, transforming the delicate art of sushi into a comforting, shareable casserole that hits every savory note. This isn’t just a meal; it is a multi-textured experience that combines the warmth of fluffy seasoned rice with the creamy decadence of a flaked tuna and cream cheese filling.
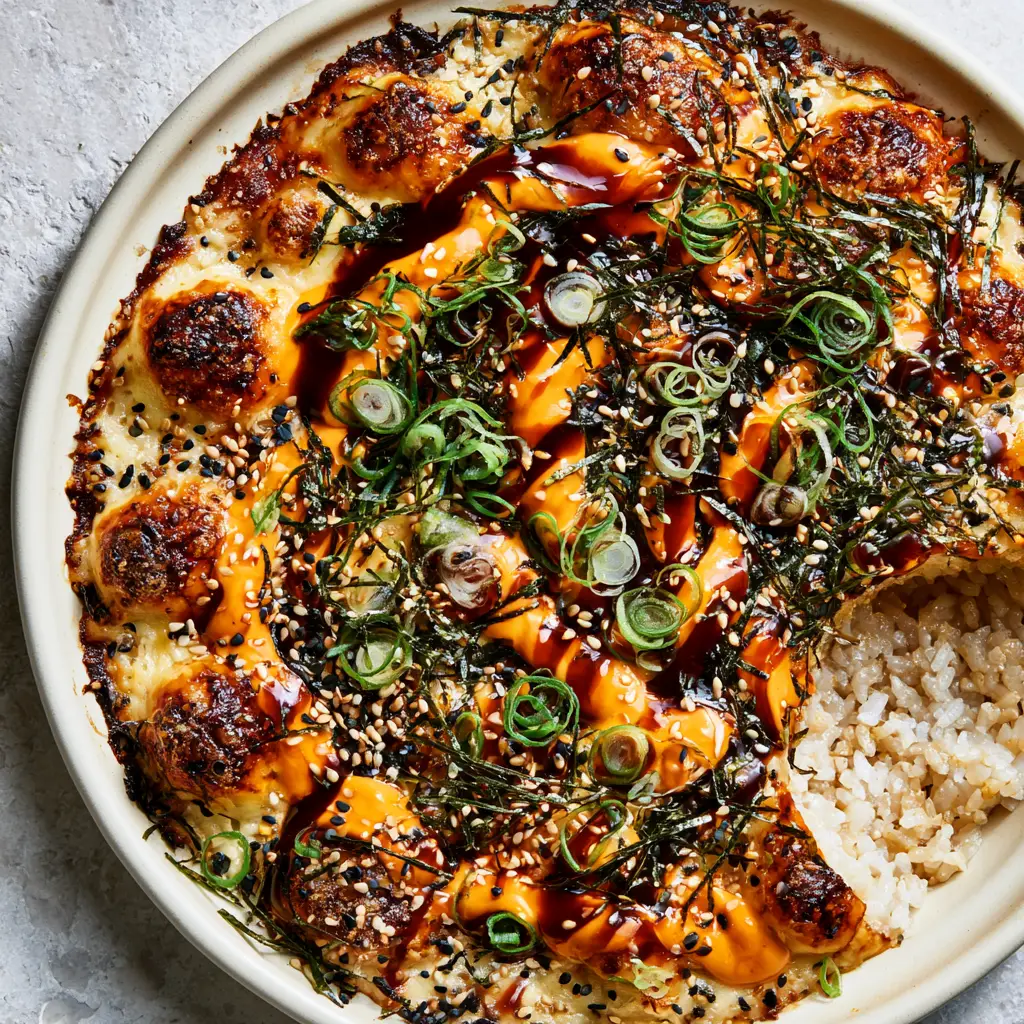
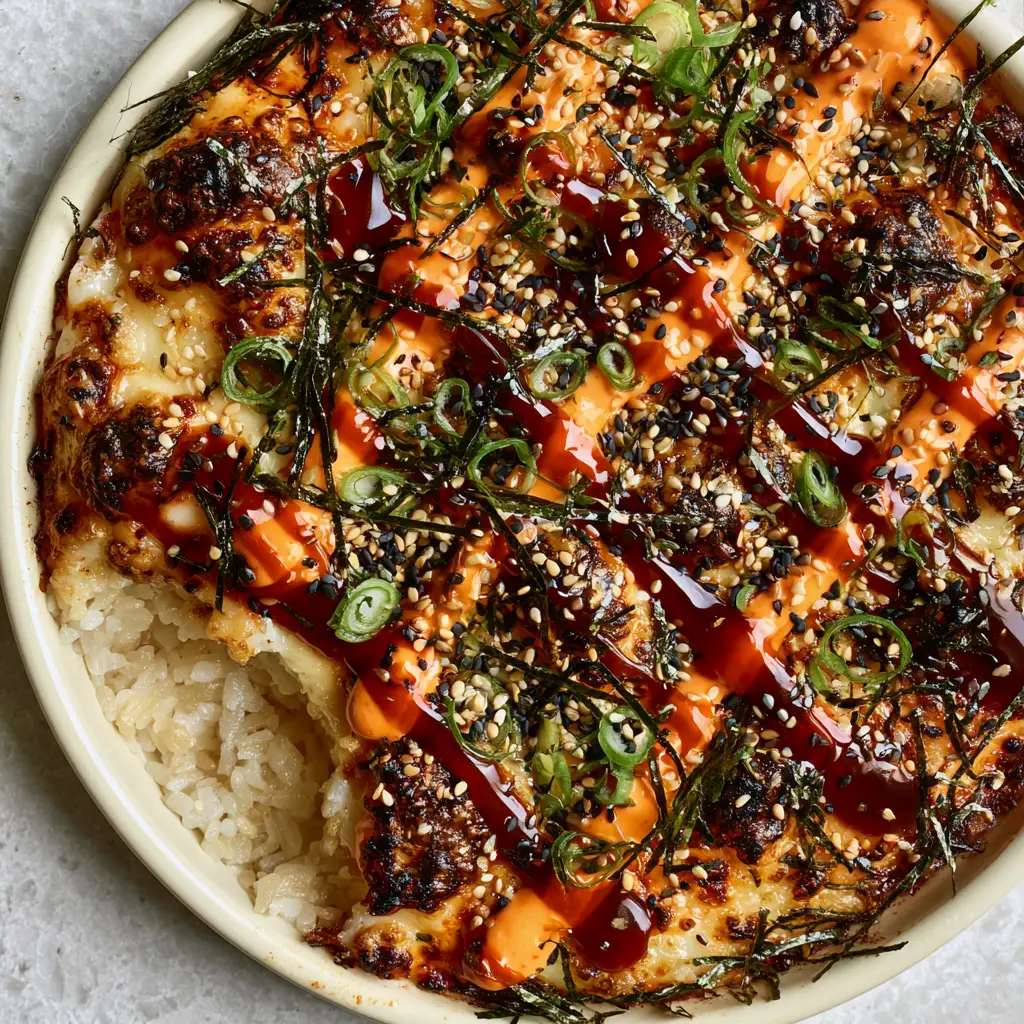
What sets this particular Spicy Tuna Sushi Bake apart is the meticulous attention to the “blister factor.” By using a high-fat Kewpie mayo and sriracha emulsion, we achieve those signature golden-brown charred peaks that bubble under the broiler, creating a professional-grade finish right in your home kitchen.
Whether you are looking for a crowd-pleasing potluck dish or a fun twist on a weeknight dinner, this recipe delivers the aesthetic of a high-end sushi bar with the soul of a home-cooked bake. If you enjoy this flavor profile, you might also want to explore our Spicy Salmon Sushi Bake for a different protein variation.
The Culinary Appeal of This Deconstructed Sushi Masterpiece
- Textural Contrast: Experience the transition from crispy julienned nori and toasted sesame seeds to a soft, melt-in-your-mouth tuna and cream cheese center.
- Visual Sophistication: The geometric pattern of glossy dark unagi sauce and vibrant orange spicy mayo drizzles makes this a centerpiece-worthy dish.
- Balanced Flavor Profile: A harmonious blend of umami from the tuna, tangy acidity from the seasoned sushi rice, and a controlled heat from the sriracha.
- Broiled Perfection: The specific use of Kewpie mayo allows for a bubbly, caramelized topping that standard mayonnaise simply cannot replicate.
The Building Blocks: Foundational Ingredients for Success
To achieve the “pearlescent” rice foundation and the “blistered” top described in our visual blueprint, each ingredient must serve a structural and flavorful purpose. Using the right fats and acids is the secret to a professional-grade bake.
Short-Grain Sushi Rice: 2 cups (400g). This high-starch rice provides the necessary stickiness to hold the base together without becoming mushy under the weight of the toppings.
Rice Vinegar: 3 tbsp (45ml). Essential for seasoning the rice, providing that classic bright, tangy sushi flavor that cuts through the rich cream cheese layer.
Canned Tuna (in water): 2 cans (approx. 10oz/280g total). Ensure this is drained thoroughly to prevent the bake from becoming watery; flaked tuna provides the perfect surface area for the cream cheese to bind.
Cream Cheese: 4 oz (115g), softened. This acts as the primary binder for the tuna, creating a lush, velvety interior that remains stable when heated.
Kewpie Mayonnaise: 1/2 cup (120ml). Japanese mayo uses only egg yolks, which leads to a higher fat content that browns and blisters beautifully under heat compared to Western mayo.
Sriracha: 2 tbsp (30ml). This provides the “vibrant orange” hue to our spicy mayo and adds a fermented chili kick to the tuna mixture.
Unagi Sauce (Eel Sauce): 3 tbsp (45ml). A thick, sweet, and salty reduction that provides the “viscous dark brown” artful drizzles seen on the finished dish.
Garnish Kit: Includes toasted black and white sesame seeds, fresh scallion rings, and crispy julienned nori strips for that final “gourmet overhead shot” aesthetic.
Essential Equipment for the Elite Sushi Bake
To replicate the minimalist cream ceramic dish look, you will need a 9×9 inch (23x23cm) or 11×7 inch (28x18cm) ceramic baking dish. Ceramic is preferred over glass as it retains heat more evenly, aiding in the bottom rice layer’s structural integrity.
You will also need a kitchen torch or a reliable oven broiler to achieve those “golden-charred peaks.” A set of squeeze bottles is highly recommended for creating the professional geometric drizzle patterns with the unagi sauce and spicy mayo.
Step-By-Step Instructions to Culinary Perfection
Preparing the Seasoned Rice Foundation
Rinse your sushi rice under cold water until the water runs clear to remove excess surface starch. Cook the rice using your preferred method (stove or rice cooker), then while still warm, gently fold in the rice vinegar, 1 tsp (5g) sugar, and a pinch of salt.
Spread the rice into an even layer at the bottom of your ceramic dish. Press down firmly with a spatula to create a “clean foundation” that won’t fall apart when scooped.
Mixing the Creamy Tuna Layer
In a medium mixing bowl, combine the drained flaked tuna with the softened cream cheese and 2 tablespoons of Kewpie mayo. Mix until the tuna is fully incorporated into the cream, creating a uniform, spreadable paste.
Spread this mixture evenly over the rice foundation. If you love canned fish recipes, this mixture is a sophisticated cousin to what you’d find in a Tuna Pasta Bake or even a Tuna Broccoli Bake.
Creating the Blistered Sriracha-Kewpie Topping
Whisk together the remaining Kewpie mayo and sriracha until a vibrant orange emulsion forms. Slather this generously over the tuna layer, using the back of a spoon to create small “peaks” and valleys in the sauce.
Place the dish under a preheated broiler (high setting) for 3-5 minutes. Watch closely for the “Visual Cue”: the sauce should begin to bubble vigorously, and the peaks will turn a deep golden-brown, almost charred in spots.
The Art of the Drizzle and Garnish
Once the bake is removed from the oven, let it rest for 2 minutes to set. Using your squeeze bottles, apply thick, artful drizzles of unagi sauce in a diagonal pattern, followed by the orange spicy mayo in the opposite direction to create a geometric grid.
Densely populate the surface with a mixture of toasted black and white sesame seeds. Finish with a handful of paper-thin scallion rounds and a generous nest of crispy julienned nori strips in the center.
Expert Tips for a Professional Result
- The “Dry Tuna” Rule: Squeeze your tuna in a fine-mesh sieve or paper towels until it’s almost bone-dry before mixing; this prevents a soggy rice base.
- Kewpie is King: Do not substitute with regular mayo if you want the “blistered” look. The yolk-only formulation is chemically required for that specific caramelization.
- Rice Temperature: Always season your rice while it is warm. The grains are more porous then and will absorb the vinegar mixture more effectively.
- Nori Management: Add the crispy nori strips only seconds before serving. The steam from the hot bake will quickly soften them if they sit too long.
Storage, Reheating, and Make-Ahead Advice
The Spicy Tuna Sushi Bake is best enjoyed fresh to maintain the contrast between the hot topping and the fluffy rice. However, leftovers can be stored in an airtight container in the refrigerator for up to 2 days.
To reheat, avoid the microwave if possible, as it can make the rice rubbery. Instead, place a portion in an air fryer at 350°F (175°C) for 3-5 minutes to restore the creaminess of the topping and the warmth of the rice foundation.
What to Serve with Your Sushi Bake
To round out this meal, serve it alongside a crisp cucumber salad or a bowl of miso soup. If you are looking for a complete seafood-themed spread, consider pairing it with a light Tuna Tartare as an appetizer.
For those hosting a larger gathering with diverse tastes, this dish fits surprisingly well alongside vibrant Mediterranean sides like Greek-Style Roasted Eggplant or even a refreshing Strawberry Lime Mocktail.
Frequently Asked Questions
You can assemble the rice and tuna layers up to 4 hours in advance. However, do not add the spicy mayo topping or bake it until you are ready to serve to ensure the best texture.
Yes, you can use finely diced sashimi-grade tuna. If using fresh tuna, reduce the broiling time slightly to avoid overcooking the fish while still achieving the charred topping.
While you can use regular mayo, it won’t blister or brown as effectively because it contains water and whole eggs. Kewpie uses only egg yolks and more oil, which is essential for that bubbly, charred finish.
No, unagi sauce (eel sauce) is a thick, syrupy reduction of soy sauce, mirin, and sugar. It provides the viscous, sweet-savory drizzle that soy sauce cannot replicate.
Short-grain Japanese sushi rice is non-negotiable. Its high starch content makes it sticky enough to form a solid foundation that can be scooped out like a casserole.
The Ultimate Spicy Tuna Sushi Bake Recipe
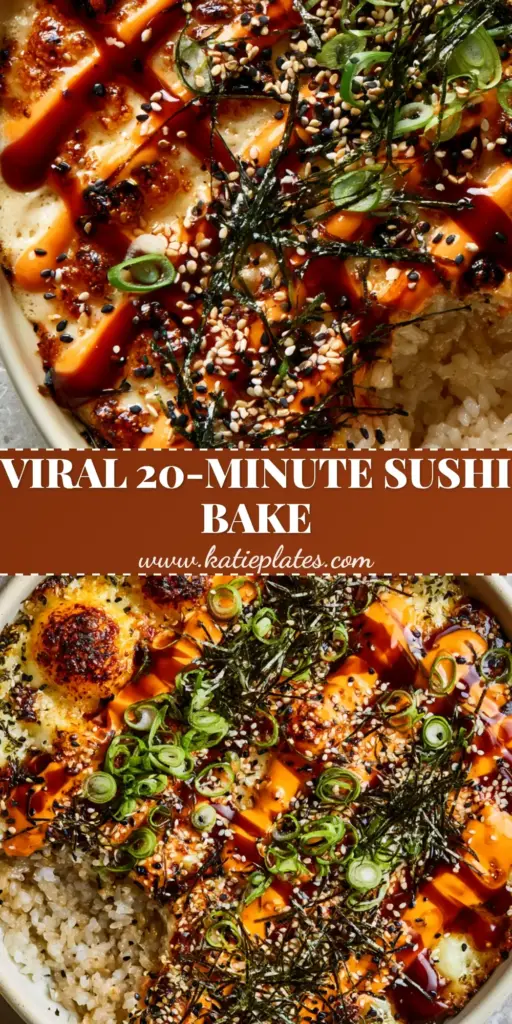
Spicy Tuna Sushi Bake with Blistered Sriracha-Kewpie Topping
Ingredients
Equipment
Method
- Fold rice vinegar and sugar into warm cooked sushi rice. Press firmly into the bottom of a ceramic dish.
- Combine drained tuna, cream cheese, and 2 tbsp Kewpie mayo. Spread over rice.
- Whisk remaining Kewpie and sriracha; spread over tuna, creating small peaks.
- Place under high broiler for 3-5 minutes until the topping is blistered and golden-brown.
- Apply unagi sauce and spicy mayo in geometric patterns. Top with sesame seeds, scallions, and nori.
Notes
Ensure the cream cheese is fully softened for a smooth, lump-free tuna mixture.
Closing & Call to Action
This Spicy Tuna Sushi Bake is more than just a viral trend; it is a delicious, reliable recipe that brings the best of Japanese-inspired flavors to your dinner table with minimal effort. The combination of the charred, bubbly topping and the seasoned sushi rice is truly addictive.
If you made this recipe and loved those golden-brown mayo peaks, please leave a comment below and let us know! Don’t forget to share your creations on Pinterest and tag us so we can see your beautiful geometric drizzles!