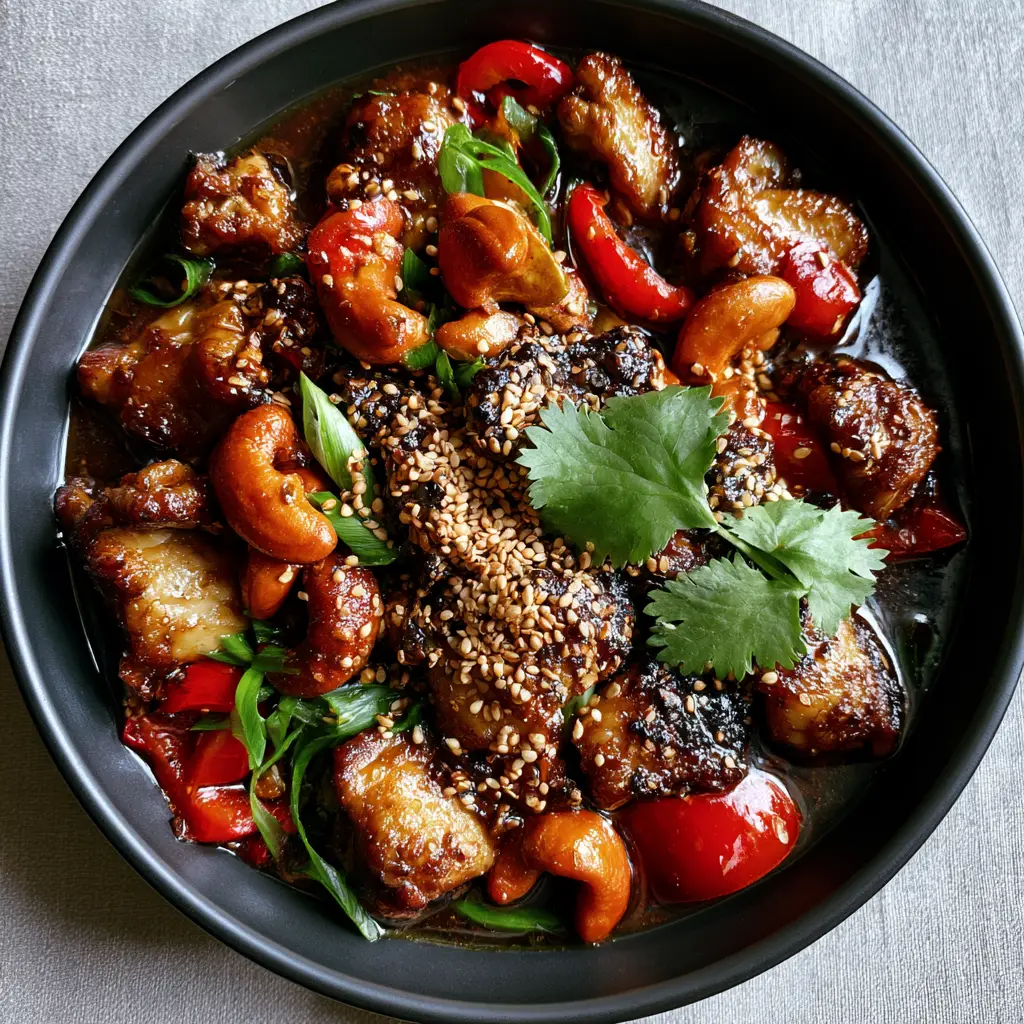
If you have been searching for the ultimate Thai Cashew Chicken that actually tastes like your favorite takeout spot, you have officially arrived. This recipe focuses on creating a high-contrast visual masterpiece—think golden-crispy chicken pieces drenched in a shimmering, dark mahogany-colored sauce that catches the light perfectly. Whether you’re scrolling through Pinterest for dinner inspiration or looking to master a 30-minute meal, this Thai Cashew Chicken delivers on every sensory promise, from the crunch of toasted amber cashews to the vibrant pop of blistered red bell peppers.
Why This Is The Ultimate Thai Cashew Chicken Experience
- The Perfect Texture Contrast: We use a specific searing technique to ensure the chicken breast has golden-crispy edges while remaining juicy inside.
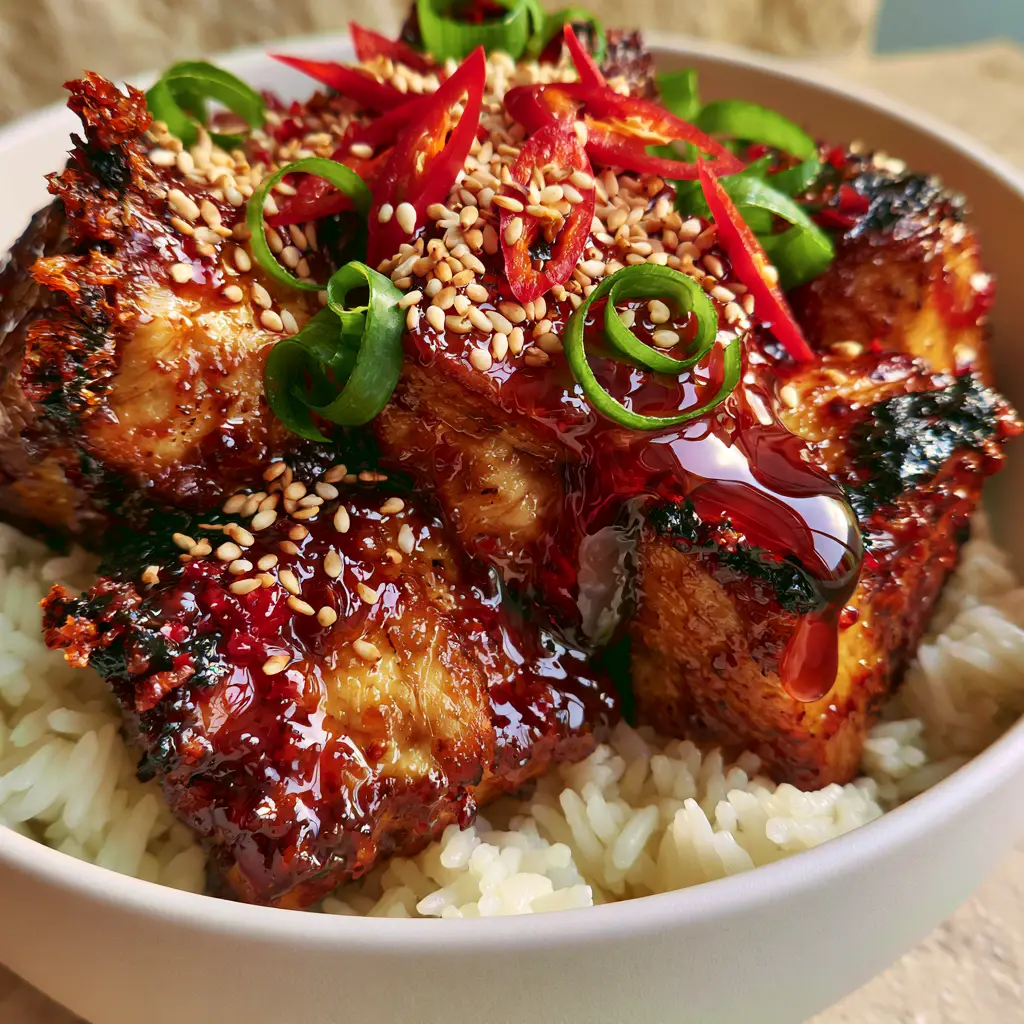
- A Glaze That Actually Sticks: No watery sauces here! Our thick mahogany glaze is rich, glossy, and clings to every single bite.
- Visual Vibrancy: The combination of bright green scallions, jagged cilantro, and vibrant red bell peppers makes this dish a Pinterest-worthy showstopper.
- Aromatic Depth: The smell of toasted white sesame seeds and fresh ginger will fill your kitchen instantly.
If you love this flavor profile, you might also want to try my crispy Thai chicken bites or this spicy Thai chili chicken for your next meal prep session.
Essential Ingredients for the Perfect Mahogany Glaze
To achieve that deep, shimmering dark hue seen in the photos, the quality and type of ingredients matter. We are building layers of umami, sweetness, and salt to create a balanced Thai Cashew Chicken.
The Savory Base
Soy Sauce & Dark Soy Sauce: Standard soy sauce provides the salt, but dark soy sauce is the secret to that intense mahogany color. Use 3 tablespoons (45ml) of low-sodium soy and 1 tablespoon (15ml) of dark soy.
Oyster Sauce: This adds the necessary thickness and a savory, slightly sweet undertone. You will need 2 tablespoons (30ml).
The Aromatics and Sweetener
Brown Sugar or Honey: 1 tablespoon (15g) helps the sauce caramelize against the high heat of the pan, creating that shimmering glaze.
Fresh Ginger and Garlic: Minced finely, these provide the aromatic backbone. Do not use the jarred stuff; fresh is non-negotiable for Thai Cashew Chicken.
Rice Vinegar: 1 tablespoon (15ml) provides the necessary acid to cut through the richness of the cashews and soy.
Achieving the Signature Crispy Seared Chicken
One of the biggest mistakes home cooks make is crowding the pan. To get those bite-sized chicken pieces with golden edges, you must sear in batches.
We start with 1.5 lbs (680g) of chicken breast, cut into uniform 1-inch pieces. Tossing them in 2 tablespoons (16g) of cornstarch (cornflour) before hitting the hot oil is what creates that thin, crispy crust that the thick mahogany glaze can hold onto.
Step-By-Step: Bringing the Thai Cashew Chicken to Life
1. Toasting the Cashews to Deep Amber
Heat a large wok or skillet over medium heat. Add 1 cup (130g) of raw, whole cashews. Shake the pan constantly for 3-5 minutes until they reach a deep amber hue. Remove them immediately to stay crunchy.
2. The High-Heat Chicken Sear
Increase the heat to medium-high and add 2 tablespoons (30ml) of neutral oil. Add the cornstarch-dusted chicken. Do not move them for at least 2 minutes. You want to see that golden-crispy sear develop before flipping. Once browned on all sides, remove the chicken from the pan.
3. Blistering the Red Bell Peppers
In the same pan, add another splash of oil if needed. Toss in 2 large red bell peppers, sliced into bite-sized strips. We want blistered red bell peppers—this means high heat and short time. They should stay crisp-tender but show slight char marks.
4. The Glaze Emulsion
Whisk your sauce ingredients together. Pour the mixture into the pan with the peppers. As the cornstarch in the sauce hits the heat, it will transform from a liquid to a thick, shimmering glaze within about 60 seconds.
5. The Final Assembly
Toss the seared chicken and toasted cashews back into the mahogany sauce. Stir rapidly to coat every nook and cranny. The sauce should be rich and glossy, not watery at all.
Expert Tips for Success
- Dry Your Chicken: Before adding cornstarch, pat the chicken dry with paper towels. Excess moisture is the enemy of a crispy sear.
- Wok Hei (Breath of the Wok): If you have a gas stove, crank the heat. High heat creates the complex smoky flavors found in professional Thai Cashew Chicken.
- The Scallion Snap: Add the chopped green scallions at the very last second. This preserves their bright green color and fresh snap against the warm glaze.
- Dual Unit Precision: Always use a kitchen scale for the most consistent results, especially when balancing the salt-to-sugar ratio in the glaze.
If you’re looking for more global chicken inspiration, check out my Vietnamese grilled chicken or this easy baked tandoori chicken.
Storage and Reheating Guidelines
To Store: Keep your leftovers in an airtight container in the refrigerator for up to 3 days. The cashews will lose some crunch over time, but the flavor of the Thai Cashew Chicken will actually deepen.
To Reheat: Avoid the microwave if possible. Reheat in a skillet over medium heat with a splash of water (15ml) to loosen the thick mahogany glaze. This helps restore the original glossy texture.
Freezing: You can freeze this dish for up to 2 months. However, be aware that bell peppers may become softer upon thawing.
What to Serve With This Dish
This Thai Cashew Chicken is incredibly flavorful, so it pairs best with neutral bases that soak up the extra glaze:
- Steamed Jasmine Rice: The classic choice for a reason.
- Cauliflower Rice: A great low-carb alternative that still carries the sauce well.
- Rice Noodles: Toss thin noodles directly into the pan at the end for a “Pad Krapow” style twist.
Frequently Asked Questions
Absolutely. Chicken thighs are more forgiving and stay very juicy. Just ensure you still sear them at high heat to get those desirable crispy edges.
Yes, but be careful when toasting them. Pre-roasted cashews will brown much faster, so only heat them for 1-2 minutes to refresh their crunch without burning them.
Coating the bite-sized chicken pieces in cornstarch and searing them in a very hot pan with a small amount of oil creates a light, crispy crust that holds onto the sauce.
This specific version is mild and savory. If you prefer heat, you can add dried red chilis or a teaspoon of Thai chili paste to the glaze mixture before cooking.
The deep color comes from using dark soy sauce, which is thicker and less salty than regular soy sauce, combined with the caramelization of brown sugar or honey in a high-heat wok.
The Ultimate Thai Cashew Chicken Recipe Card
Thai Cashew Chicken with a Thick Mahogany Glaze
Ingredients
Equipment
Method
- Heat a dry wok over medium heat. Add raw cashews and toast for 3-5 minutes, tossing frequently until they are a deep amber hue. Remove and set aside.
- Pat the chicken pieces dry with a paper towel. Toss in a bowl with cornstarch until evenly coated.
- Add oil to the hot wok. Add chicken in a single layer. Sear for 2-3 minutes until golden-crispy edges appear, then flip and cook for another 2 minutes. Remove chicken.
- Add red bell peppers to the pan. Stir-fry for 2 minutes until blistered but still crisp. Add garlic and ginger, sautéing for 30 seconds until fragrant.
- Whisk together both soy sauces, oyster sauce, sugar, and vinegar. Pour into the pan. Stir as it bubbles and reduces into a thick, mahogany-colored glaze.
- Return chicken and cashews to the wok. Toss to coat thoroughly. Garnish with scallions, sesame seeds, and cilantro leaves.
Notes
Do not crowd the pan during the searing phase to ensure the chicken stays crispy.
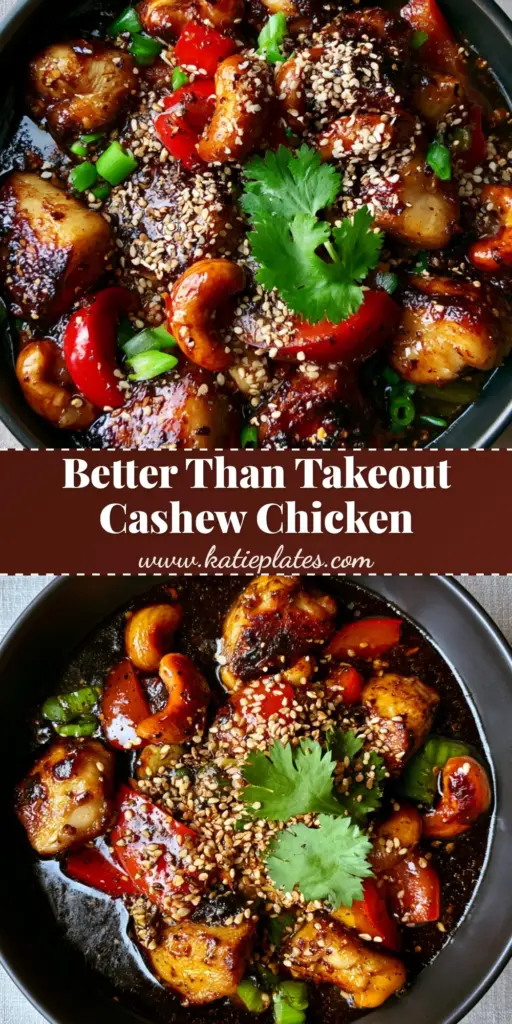
Save This Recipe to Pinterest!
Did you love the look of that thick mahogany glaze? Don’t lose this recipe! Click the Pin button to save this to your “Easy Weeknight Dinners” or “Thai Recipes” board on Pinterest. Follow katieplates for more high-vibrancy, flavor-packed meals.
If you make this Thai Cashew Chicken, please come back and leave a 5-star rating! I love seeing your recreations—tag me or upload a photo of your matte black bowl in the comments below!