Baked mussels are the ultimate crowd-pleasing appetizer, combining the briny sweetness of succulent seafood with a rich, bubbling topping of garlic-infused mayonnaise and melted mozzarella. If you have been searching for a restaurant-quality starter that looks as stunning as it tastes, this recipe is your golden ticket. These mussels are meticulously prepared on the half-shell, topped with a golden-brown sauce, and finished with the perfect crunch of crispy minced fried garlic and fresh scallions. Whether you are hosting a sophisticated dinner party or looking for a decadent weekend treat, these mussels deliver high-impact flavor with minimal effort.
Why You Will Crave These Cheesy Baked Mussels
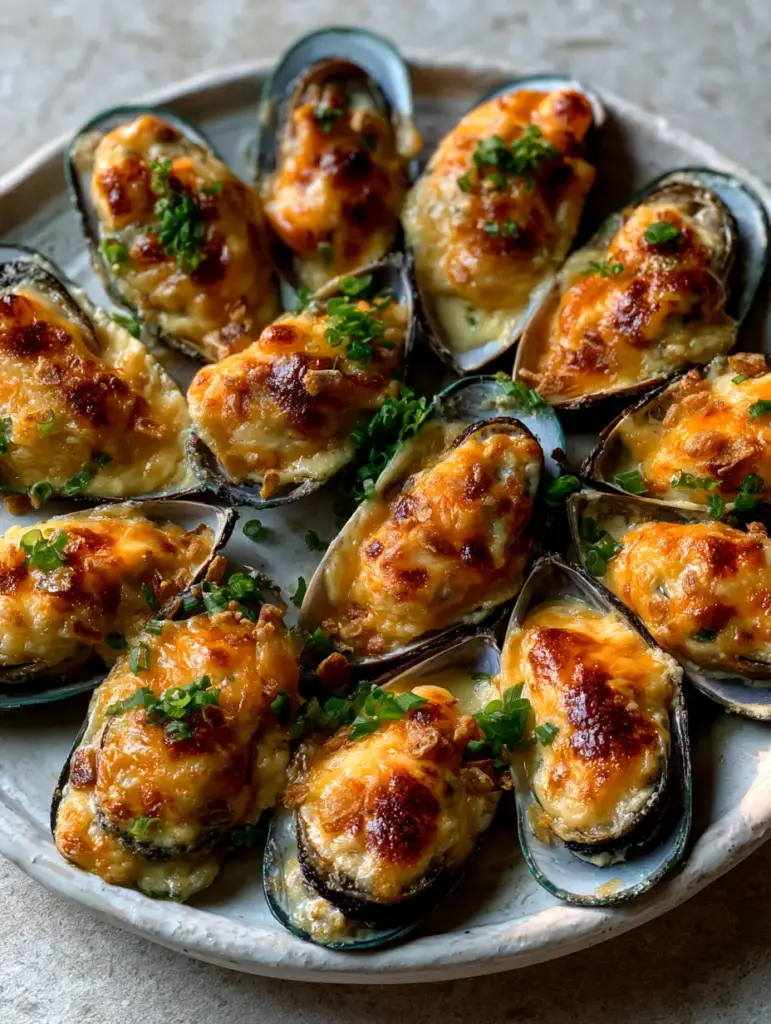
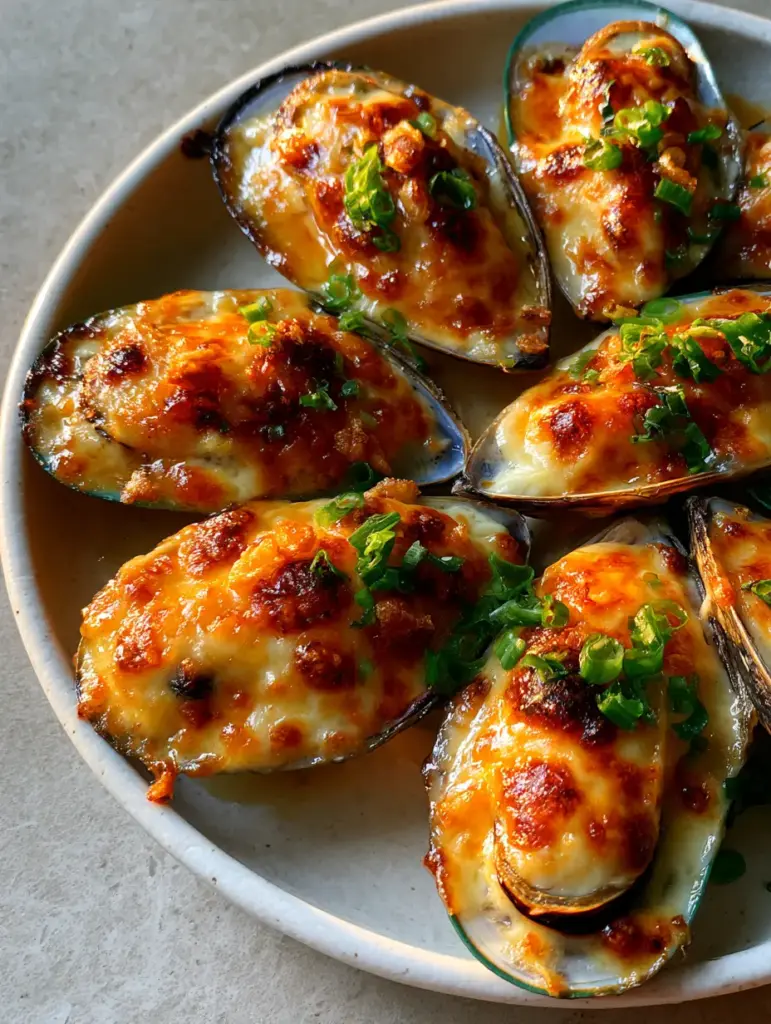
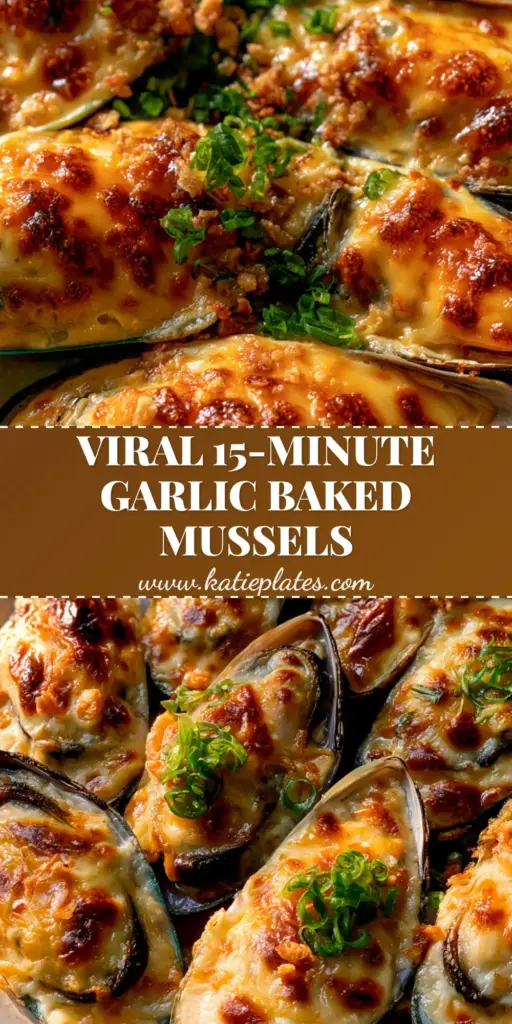
- Visual Texture Mastery: Each shell features a plump, juicy mussel hidden beneath a thick, bubbling layer of golden-brown toasted garlic-mayonnaise and gooey mozzarella.
- The Ultimate Umami Bomb: The combination of natural seafood juices, savory mayo, and crispy fried garlic creates a flavor profile that hits every sensory note.
- Pinterest-Perfect Presentation: Arranged in a circular pattern and hit with vibrant green scallions, these mussels are designed to be the centerpiece of your table.
- Scientifically Balanced: We balance the rich fats of the cheese and mayo with the sharp, aromatic bite of fresh garlic and scallions.
If you love the elegance of seafood appetizers, you might also enjoy our buttery baked scallops or these flavor-packed seafood stuffed shells for a more substantial meal.
Essential Ingredients for the Best Baked Mussels
To achieve the forensic visual accuracy seen in high-end food photography, we must use specific ingredients that react perfectly under the broiler.
- Green-Lipped Mussels: Large, meaty, and visually striking, these are the gold standard for baked mussels. Use 2 lbs (900g) of mussels on the half-shell.
- Real Mayonnaise: Use 1/2 cup (120ml) of high-quality mayonnaise (Kewpie brand is excellent here for extra richness) to create that signature toasted topping.
- Mozzarella Cheese: 1 cup (115g) of shredded mozzarella provides the bubbling melted cheese and those iconic golden-brown spots.
- Fresh Garlic: We use 4 cloves, finely minced. Half will be folded into the sauce, and half will be fried for the crispy minced fried garlic topping.
- Scallions: 2 stalks, finely chopped, provide a vibrant garnish and a fresh contrast to the rich cheese.
- Lemon Juice: 1 tsp (5ml) helps brighten the seafood juices and cut through the fat of the mayo.
How to Prepare Mussels for Baking
Step 1: Cleaning and Inspecting the Shells
Start by rinsing your green-lipped mussels under cold running water. Even if they come pre-cleaned on the half-shell, it is vital to check for any stray “beards” (the fibrous tufts) or small shell fragments. Pat the mussels completely dry with a paper towel. Dry mussels are crucial; excess moisture will steam the topping instead of allowing it to bubble and brown properly.
Step 2: Crafting the Garlic-Mayonnaise Base
In a small mixing bowl, combine the mayonnaise, half of the minced garlic, and a pinch of salt. Whisk until smooth. This emulsion is what creates the glistening natural seafood juices when the fats melt into the mussel meat. Much like preparing pan-seared cod, the key here is starting with high-quality fats to carry the flavor.
Step 3: Creating the Crispy Garlic Garnish
Heat 1 tbsp (15ml) of neutral oil in a small skillet over medium-low heat. Add the remaining minced garlic. Stir constantly until the garlic turns a pale golden-brown. Immediately remove from heat and drain on a paper towel. This ensures the garlic stays crispy and golden without becoming bitter.
The Baking Process: Achieving the Perfect Bubble
Layering the Flavors
Arrange the mussels in a circular pattern on a baking sheet or a rustic ceramic plate. Spoon roughly 1 tablespoon of the garlic-mayo mixture onto each mussel, spreading it to the edges of the shell. Top generously with the shredded mozzarella. The thick, bubbling layer you see in the photos comes from this generous layering.
The Broil Method
Set your oven to broil (high). Place the mussels on the middle rack. You are looking for distinct toasted brown spots to appear on the cheese. This usually takes 5-8 minutes. Watch closely! The transition from golden-brown to burnt happens in seconds. You want to see the glossy, sizzling texture of the cheese as it interacts with the heat.
Final Touches and Garnish
Immediately after removing the mussels from the oven, sprinkle the crispy fried garlic and the finely chopped fresh green scallions over the top. The residual heat will wake up the aromatics of the scallions without wilting them entirely, maintaining that vibrant garnish look.
Expert Tips for Pinterest-Worthy Results
- Temperature Control: Ensure your mayo is at room temperature before mixing to prevent the sauce from breaking.
- Height Matters: For the best vertical height in your food photos, choose the plumpest mussels in the batch and place them toward the center of your circular arrangement.
- The Sizzle Factor: Serve these immediately. The glistening seafood juices are most apparent in the first 3 minutes after baking.
- Pairing Logic: Serve these alongside a light starch like savory mushroom rice to soak up the extra garlic butter and juices.
Storage and Reheating
Seafood is always best enjoyed fresh. However, if you have leftovers, store them in an airtight container in the refrigerator for up to 24 hours. To reheat, place them back under the broiler for 2-3 minutes. Avoid the microwave, as it will turn the plump mussels rubbery and the bubbling melted mozzarella chewy.
What to Serve with Baked Mussels
These baked mussels are quite rich, so they pair beautifully with acidic or light side dishes. Consider a crisp strawberry watermelon salad to cleanse the palate between bites. For a full Mediterranean-inspired spread, serve these as an appetizer followed by mediterranean baked fish.
Frequently Asked Questions
You can prepare the garlic-mayo sauce and clean the mussels a few hours in advance, but for the best texture, wait to assemble and bake them until just before serving.
Yes, frozen mussels on the half-shell work perfectly. Just ensure they are fully thawed and patted extremely dry before adding the topping to prevent a watery sauce.
If your mussels won’t sit flat, create a small bed of coarse sea salt or crumpled aluminum foil on your baking sheet to nestle the shells into.
Green-lipped mussels are significantly larger and meatier, making them ideal for holding heavy toppings like cheese and mayo. Blue mussels are smaller and better suited for steaming.
Your oven broiler might need more time to preheat, or the rack is too low. Move the baking sheet to the top or middle rack to ensure the heat is close enough to toast the mozzarella.
The Ultimate Cheesy Baked Mussels Recipe
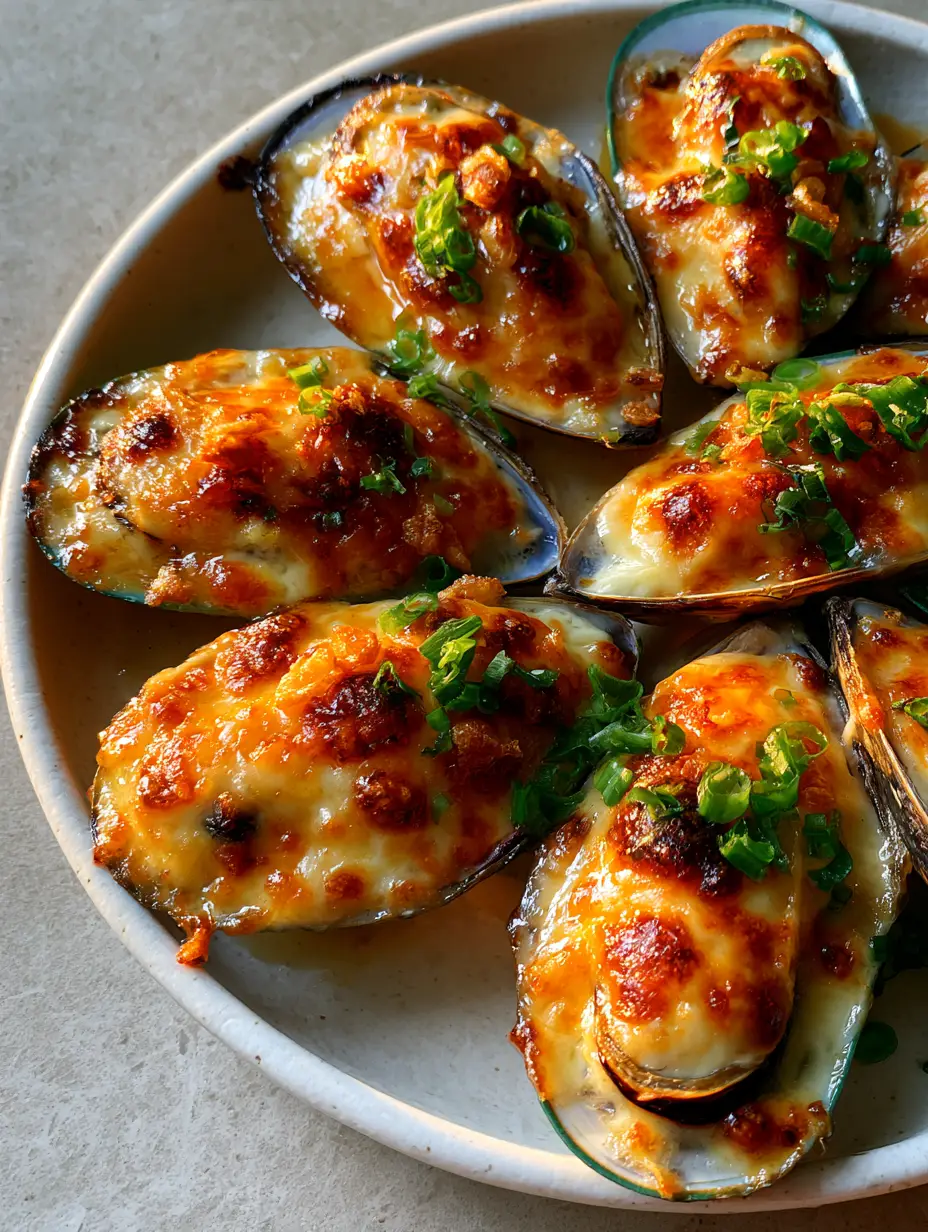
Baked Mussels with Cheesy Garlic Mayo and Crispy Fried Garlic
Ingredients
Equipment
Method
- Rinse mussels under cold water, remove any beards, and pat completely dry with paper towels.
- In a bowl, combine mayonnaise and half of the minced garlic. Whisk until smooth.
- Heat oil in a skillet and fry the remaining garlic until golden and crispy. Drain on paper towels.
- Arrange mussels on a tray. Top each with the mayo mixture and a generous amount of mozzarella.
- Broil on high for 5-8 minutes until the cheese is bubbling and has golden-brown spots.
- Immediately sprinkle with crispy garlic and chopped scallions before serving.
Notes
Watch the broiler closely as the cheese can go from golden to burnt very quickly.
Join the KatiePlates Community!
Did these baked mussels turn out as bubbly and golden as you hoped? I would love to see your results! Save this recipe to your Pinterest seafood board so you never lose it. Follow @katieplates for more elite home-cooking inspiration. If you made this, please drop a photo in the comments and leave a 5-star rating below—it helps other home cooks find these delicious recipes!