There is a specific kind of magic found in the contrast between a buttery, fruit-infused crumble and a cloud-like cream filling. These strawberry crunch dessert cups are a sophisticated, deconstructed homage to the nostalgic ice cream bars of summer, reimagined for the modern aesthetic. By combining the textural snap of crushed Golden Oreos with the concentrated tang of freeze-dried strawberries, we create a dessert that is as visually arresting as it is delicious.
Whether you are hosting a garden party or looking for a refined weeknight treat, these shooters offer a professional finish with minimal effort. The vibrant pink crumb against the stark white cheesecake filling creates a high-end look that mimics the finest French desserts found in Parisian patisseries. Let’s dive into the forensic details of making this visually stunning treat.
Why This Strawberry Crunch Recipe Works
- Textural Harmony: The gritty, sugary “crunch” provides a necessary structural contrast to the velvety, whipped middle layer.
- Flavor Concentration: Using freeze-dried strawberry powder ensures an intense berry flavor without adding excess moisture that would make the cookies soggy.
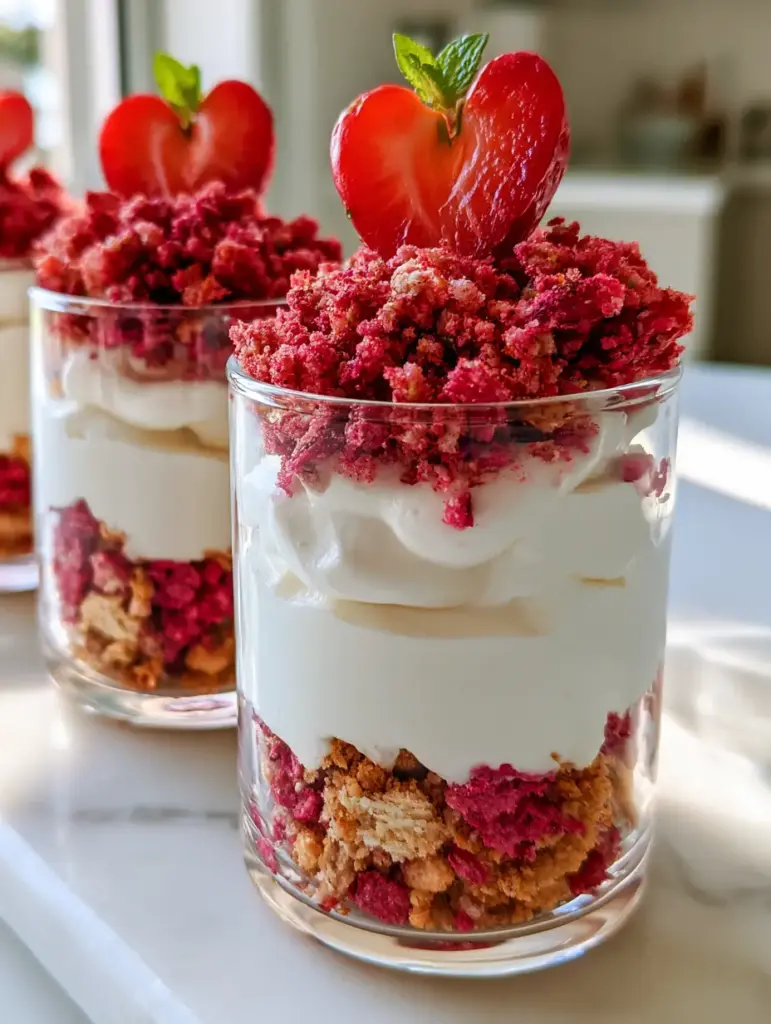
- Visual Precision: Three distinct, perfectly defined layers make these shooters a centerpiece-worthy addition to any dessert table.
- No-Bake Ease: Achieve professional-grade results without ever turning on the oven, keeping your kitchen cool and your prep time short.
The Anatomy of the Perfect Strawberry Crunch Layer
The foundation of these strawberry crunch dessert cups relies on a specific ratio of fats to solids. We utilize crushed Golden Oreos for their vanilla-forward sweetness and sturdy crumb structure.
Golden Sandwich Cookies: 1 standard package (14.3 oz / 405g). These provide the “golden-brown” base seen in the visual blueprint. When pulsed, they retain a gritty texture that mimics a traditional pie crust but with more sweetness.
Freeze-Dried Strawberry Powder: 1 cup (approx. 20g-30g). This is the secret to the “vibrant pink” bits. Unlike fresh fruit, freeze-dried powder offers a massive hit of acid and color without introducing water, which would turn the cookies into paste.
Unsalted Butter: 1/4 cup (57g), melted. This foundational “invisible” ingredient acts as the glue. It coats the cookie crumbs and strawberry powder, ensuring the bottom layer stays packed and the topping has that heavy, glistening crumble look.
The Secret to a Velvety Whipped Cheesecake Filling
For the middle layer, we are aiming for a “bright white” and “velvety” texture. To achieve the specific look from our Midjourney prompt, the filling must be aerated but stable enough to hold the weight of the heavy topping.
Full-Fat Cream Cheese: 8 oz (226g), softened to room temperature. This provides the tangy base and the structural integrity required for a clean “thick” layer in the glass shooters.
Granulated Sugar: 1/2 cup (100g). Sugar does more than sweeten; it helps break down the cream cheese molecules to create a smoother, lump-free consistency.
Heavy Whipping Cream: 1 cup (240ml), chilled. We fold this in to create the “whipped” effect. The high fat content ensures the filling looks opaque and bright white against the pink layers.
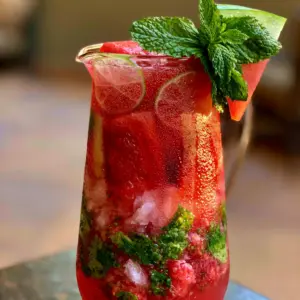
Vanilla Bean Paste or Extract: 1 tsp (5ml). While not visible, this adds the floral notes that elevate the dessert from simple to gourmet. If you want to pair this with a beverage, consider a strawberry-lime mocktail margarita to echo the fruit profile.
Essential Equipment for Elegant Dessert Shooters
To replicate the “high-end food styling” of the visual prompt, you will need a few specific tools. Using a piping bag is non-negotiable if you want the “perfectly defined” layers described in the visual blueprint.
- Food Processor: Essential for achieving the “gritty, sugary crunch” of the Oreo base without leaving large, unappealing chunks.
- Hand Mixer or Stand Mixer: Necessary to whip the cream cheese and heavy cream to the “thick, velvety” stage.
- Piping Bags: These allow you to drop the filling into the bottom of narrow glasses without smearing the sides, maintaining those clean, professional lines.
- Tall Glass Shooters: 2-3 oz (60-90ml) glass cups showcase the three-layer transition and the “soft side-lighting” effects.
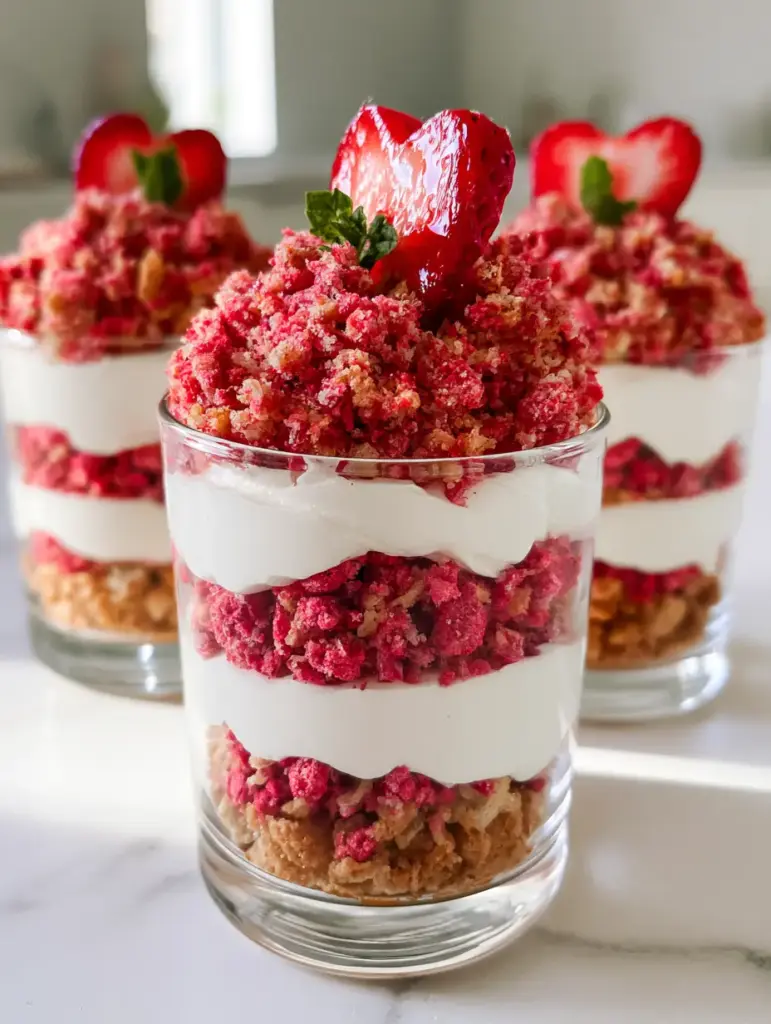
Step-by-Step Evolution of the Strawberry Crunch Dessert Cups
Creating the Signature Strawberry Crumble
Begin by placing the Golden Oreos into your food processor. Pulse until you have a mixture of fine crumbs and small, pea-sized pieces to ensure a “realistic texture.”
Add the freeze-dried strawberry powder and pulse twice more to distribute the vibrant pink color. Drizzle in the melted butter and toss with a fork until the mixture resembles wet sand. Set aside half for the base and half for the “heavy strawberry crunch crumble” topping.
Whipping the Cloud-Like Filling
In a large bowl, beat the softened cream cheese and granulated sugar until no lumps remain. This is the foundation of our “bright white” layer.
In a separate chilled bowl, whip the heavy cream until stiff peaks form. Gently fold the whipped cream into the cream cheese mixture using a silicone spatula. Stop as soon as the mixture is uniform to maintain the “velvety” aeration without deflating it.
Precision Layering and Garnishing
Spoon approximately 2 tablespoons (30g) of the strawberry-Oreo mixture into the bottom of each glass. Use a small dowel or the back of a spoon to press it into a “perfectly defined” base.
Pipe the cheesecake filling over the base, filling the glass about two-thirds of the way up. Ensure the filling touches the glass all the way around to prevent the top layer from falling into the middle. Sprinkle the remaining crumble generously over the top.
The Final Forensic Touches
The visual prompt specifies a “glossy, heart-shaped strawberry slice.” Slice a fresh strawberry vertically, then cut a small “V” into the top to create the heart shape. Place it gently atop the crumble.
Finish with a “tiny sprig of fresh green mint” placed right next to the strawberry. This pop of green provides a complementary color contrast to the vibrant reds and clean whites of the dessert.
Chef’s Tips for Visual and Flavor Perfection
- Temperature Control: Ensure your cream cheese is truly at room temperature. If it is even slightly cold, you will end up with white lumps rather than a “velvety” finish.
- Powder Consistency: If your freeze-dried strawberries are whole, blend them into a fine powder before adding them to the cookies for the most “vibrant pink” saturation.
- Chill Time: For the best “clean shadows” and set texture, chill the assembled cups for at least 2 hours. This allows the butter in the crust to firm up.
- Avoid Sogginess: If you are making these a day in advance, wait to add the “heavy strawberry crunch crumble” topping until just before serving to maintain maximum grit.
Serving Suggestions and Pairings
These strawberry crunch dessert cups are a fantastic conclusion to a variety of meals. For a cohesive menu, consider starting with light, Mediterranean-inspired dishes. The acidity of the strawberries pairs beautifully after a meal of ladolemono-marinated fish or a refreshing mast-o-khiar yogurt dip.
If you are planning a more robust dinner, these shooters act as a bright palate cleanser. They follow perfectly after savory, spiced dishes like joojeh kebabs or a fragrant Persian saffron chicken. The creaminess of the filling helps balance any residual heat from the main course.
Storage and Make-Ahead Instructions
These dessert cups can be stored in the refrigerator for up to 3 days. However, for the most “realistic textures,” they are best consumed within 24 hours of assembly.
To freeze, prepare the cream cheese filling and cookie base separately. The filling can be frozen in an airtight container for up to 1 month. Thaw in the fridge overnight before piping and assembling with fresh “strawberry crunch” crumble.
Frequently Asked Questions
Yes, you can assemble the base and filling up to 24 hours in advance. However, wait to add the top crumble and fresh strawberry garnish until just before serving to maintain texture.
No, fresh strawberries contain too much moisture and will make the Oreo crumbs soggy. For the signature ‘crunch’ and vibrant pink color, you must use freeze-dried strawberry powder.
Slice a small strawberry in half vertically. On the top of each half, cut a small ‘V’ shape into the center where the stem was to create the heart shape.
You can use any vanilla sandwich cookie or even shortbread cookies, though Golden Oreos provide the best ‘gritty’ texture for this specific recipe.
Lumps occur if the cream cheese is too cold. Ensure it is at room temperature and cream it thoroughly with the sugar before folding in the whipped cream.
The Ultimate Strawberry Crunch Dessert Cups Recipe
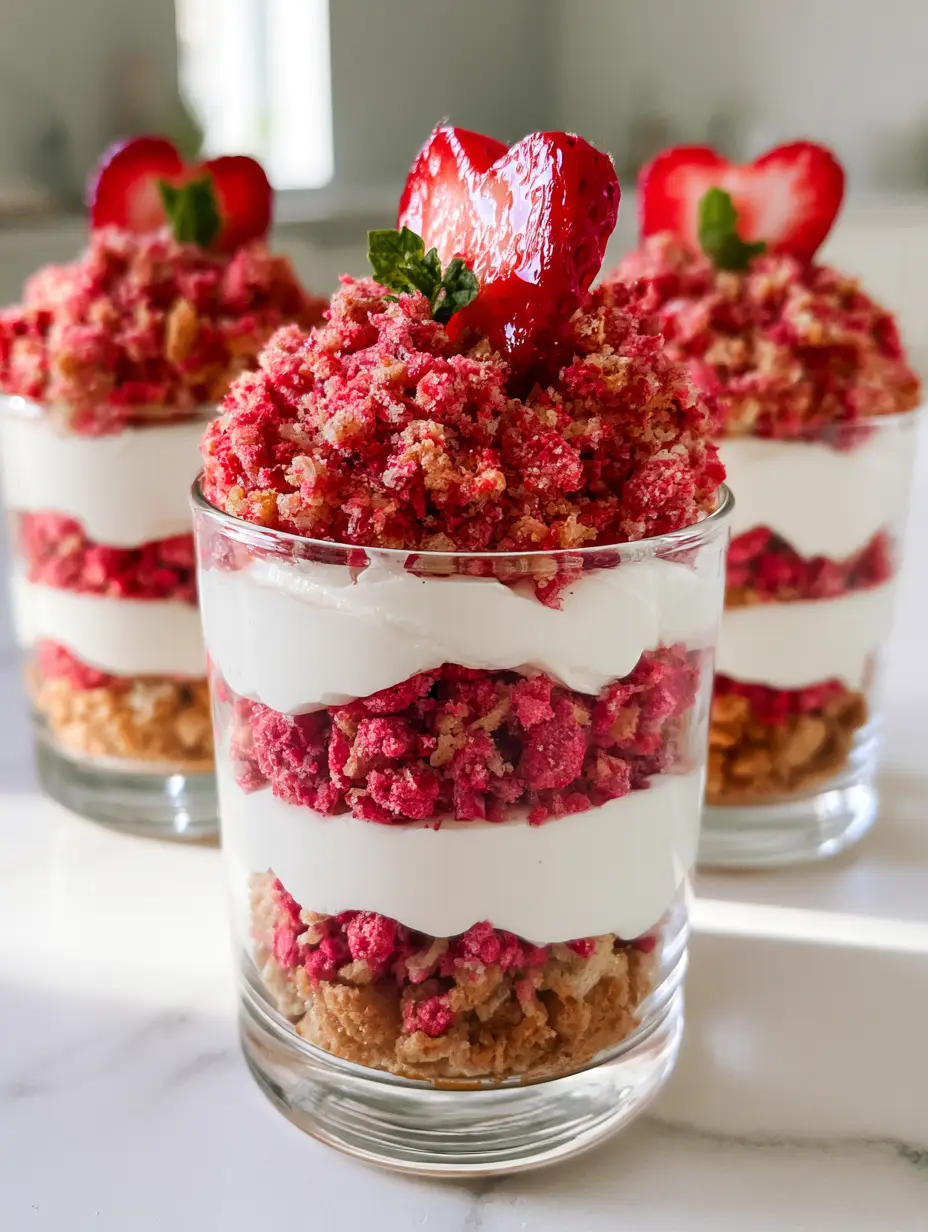
Strawberry Crunch Dessert Cups: The Ultimate No-Bake Gourmet Shooter
Ingredients
Equipment
Method
- Place Golden Oreos in a food processor and pulse until gritty crumbs form with some small chunks.
- Add freeze-dried strawberry powder and pulse to combine until the mixture is a vibrant pink.
- Drizzle in melted butter and toss until the mixture resembles wet sand.
- Beat softened cream cheese and granulated sugar until bright white and smooth.
- In a separate bowl, whip heavy cream to stiff peaks, then gently fold into the cream cheese base.
- Press 2 tablespoons of crunch into the bottom of each glass shooter.
- Pipe the velvety filling into the glasses, leaving room for the topping.
- Top with remaining heavy crumble, a heart-shaped strawberry slice, and a mint sprig.
Notes
Add the top crumble layer right before serving to keep it extra crunchy.
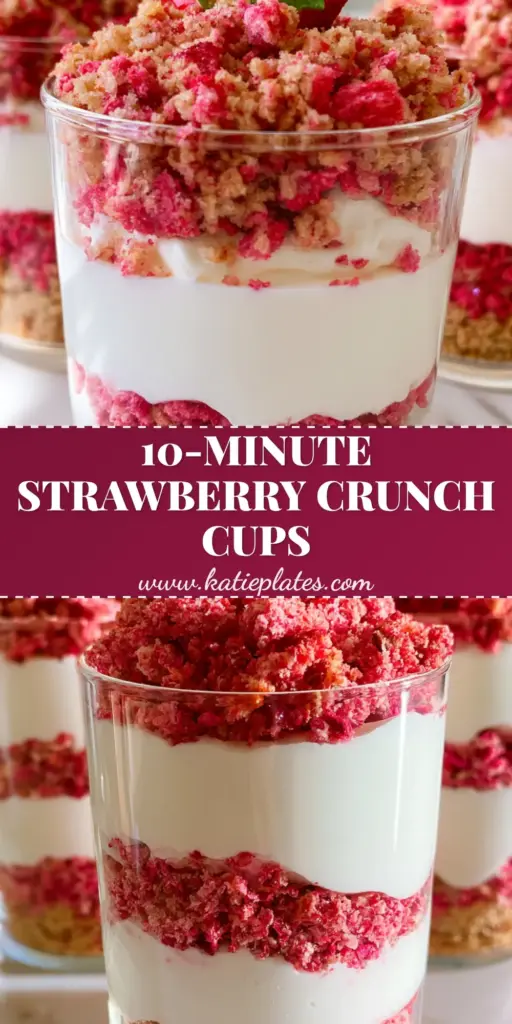
Final Thoughts on These Strawberry Shooters
Mastering the strawberry crunch dessert cups is about more than just following a recipe; it is about understanding the interplay of textures and colors. This dish proves that with the right “Visual Recipe Blueprint,” anyone can create a professional-grade dessert that looks like it belongs on a high-end food blog. Don’t forget to capture your own “handheld smartphone photo” and share your results!
If you enjoyed this recipe, please leave a comment below and share your creations on Pinterest. For more kitchen inspiration, subscribe to our newsletter for weekly updates!